


Beef Tamales
Description
Families everywhere enjoy tamales at Christmas and at New Year's celebrations. Tamales are traditionally associated with the Mexican culture, and I most closely associate tamales with the days long ritual of families making tamales together. And that's probably why tamales became associated with Christmas--families getting together at Christmas and making the tamales--bundles and bushels of tamales. Many of the recipes I found when doing my research for this article were recipes for making a hundred or more tamales.
I decided to make tamales by myself in order to absorb the process and to be able to give you a good, hands-on tutorial. My experience took a couple of days. I'm sure you could do it by yourself in a day, but I'm not sure I would try, unless you are an experienced tamale-maker.
Here are some immediate take-aways: when I make them in the future, I will use my stand mixer to make the tamale dough; I will plan ahead; tamales are NOT for the faint of heart because lard makes the best masa; tamales are good for any meal of the day: breakfast, lunch and dinner; they are, without a doubt, absolutely delicious.
There are lots of choices for fillings for tamales: beef, pork, chicken, corn to name a few. Most are savory, but I have had delicious sweet corn tamales, which could almost be served as dessert.
Now, here's where the planning comes into play: I decided to make beef tamales and started by making my old stand-by: braised short ribs. This was a good choice--the meat was tender and already flavorful, so only a few spices were necessary to create a good, appropriately flavored meat filling for the tamales.
There are also lots of choices for what to serve alongside your tamales. I decided on chili. I made a pot of beans a couple of days before I made tamales and used the leftover beans and some of the leftover meat and sauce from the short ribs to make a nice, rich pot of chili.
When doing my research for this recipe, most of the recipes I found made, like 100 tamales. I only wanted about a dozen of them, maybe a few more, but decidedly not 100, so I found recipes that made smaller quantities, compared them and cobbled together this recipe that makes 16-18 medium-sized tamales. This worked just fine--I served 2 each for dinner, sent Mr. Stone Soup to work with 2 the next day for lunch and put about a dozen into the freezer. But let me tell you: I made quite a mess trying to make the dough using my hand mixer. So, another lesson learned: use the big stand mixer for this job. I'm still finding little dough globs on my counter!
With that introduction, let's get started making tamales, shall we?
Ingredients
Tamale Dough
Beef Filling
Instructions
-
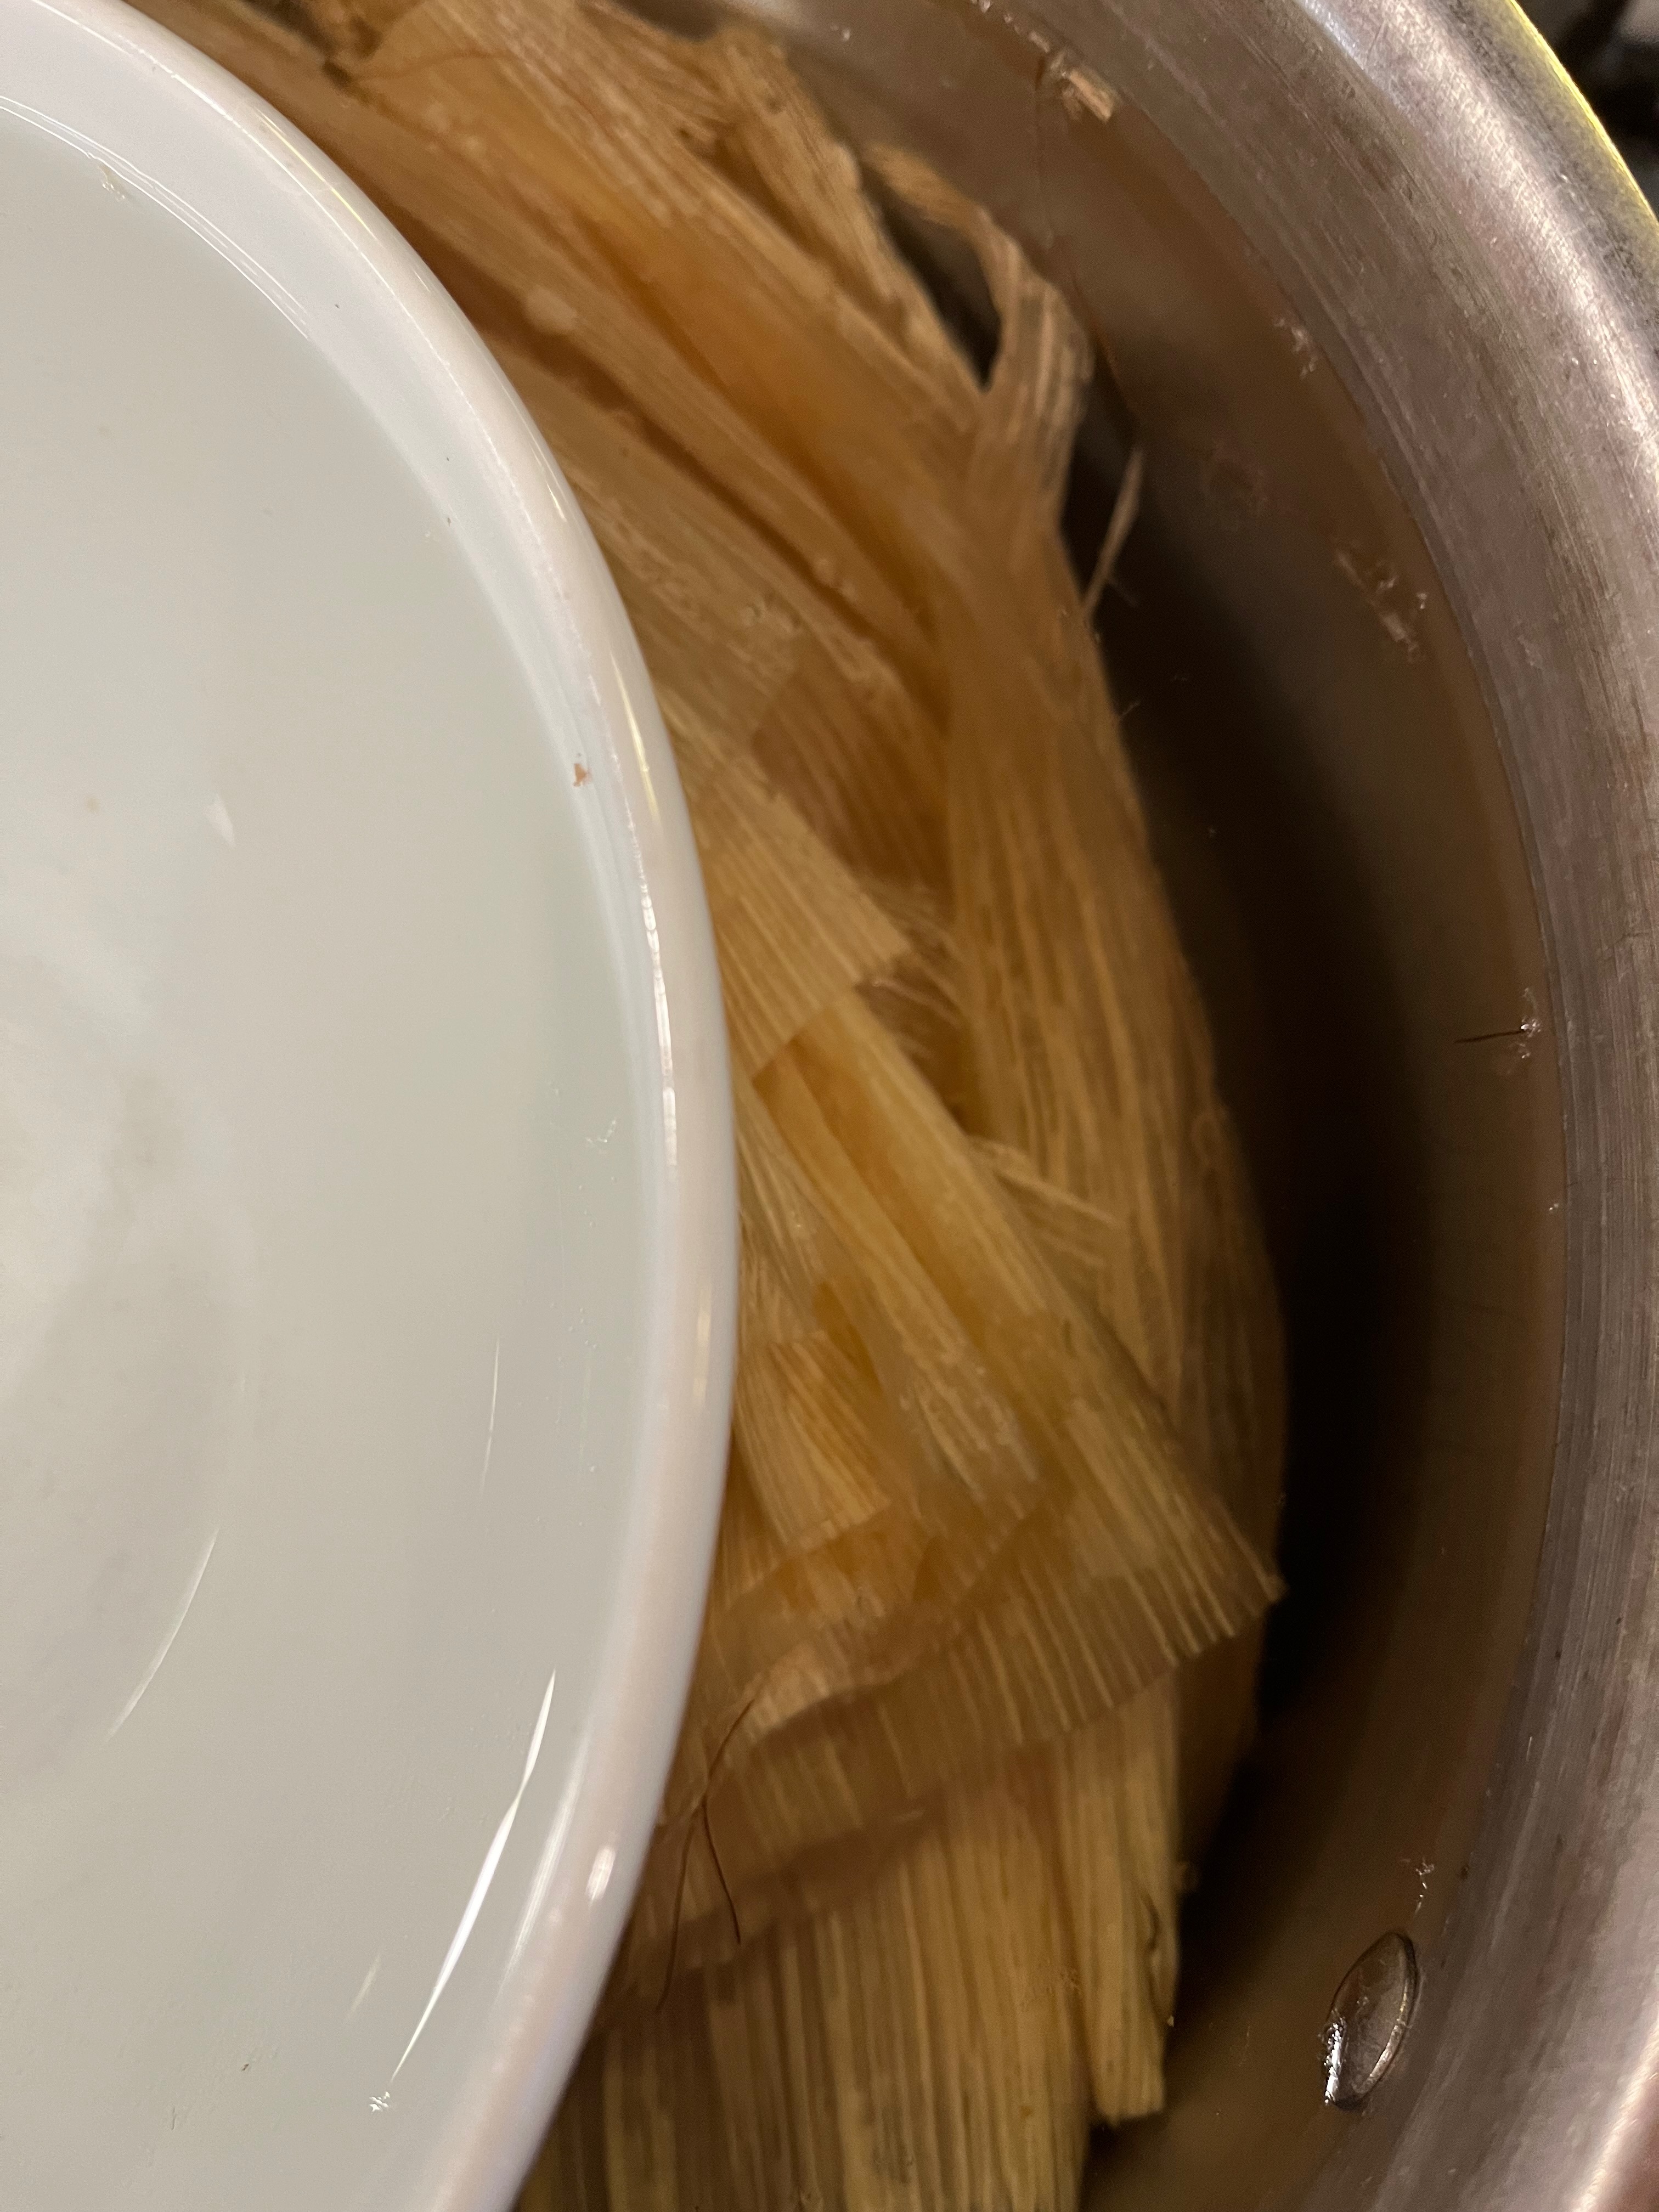
About 4 hours before you want to make the tamales, start by soaking your corn husks in hot water. Make sure to cover the husks with the hot water and weight them down (here, I'm using a large, flat pasta bowl filled with hot water to weight the husks down--otherwise, they will float. The longer you soak the husks, the easier they will be to handle when you're making the tamales.
-
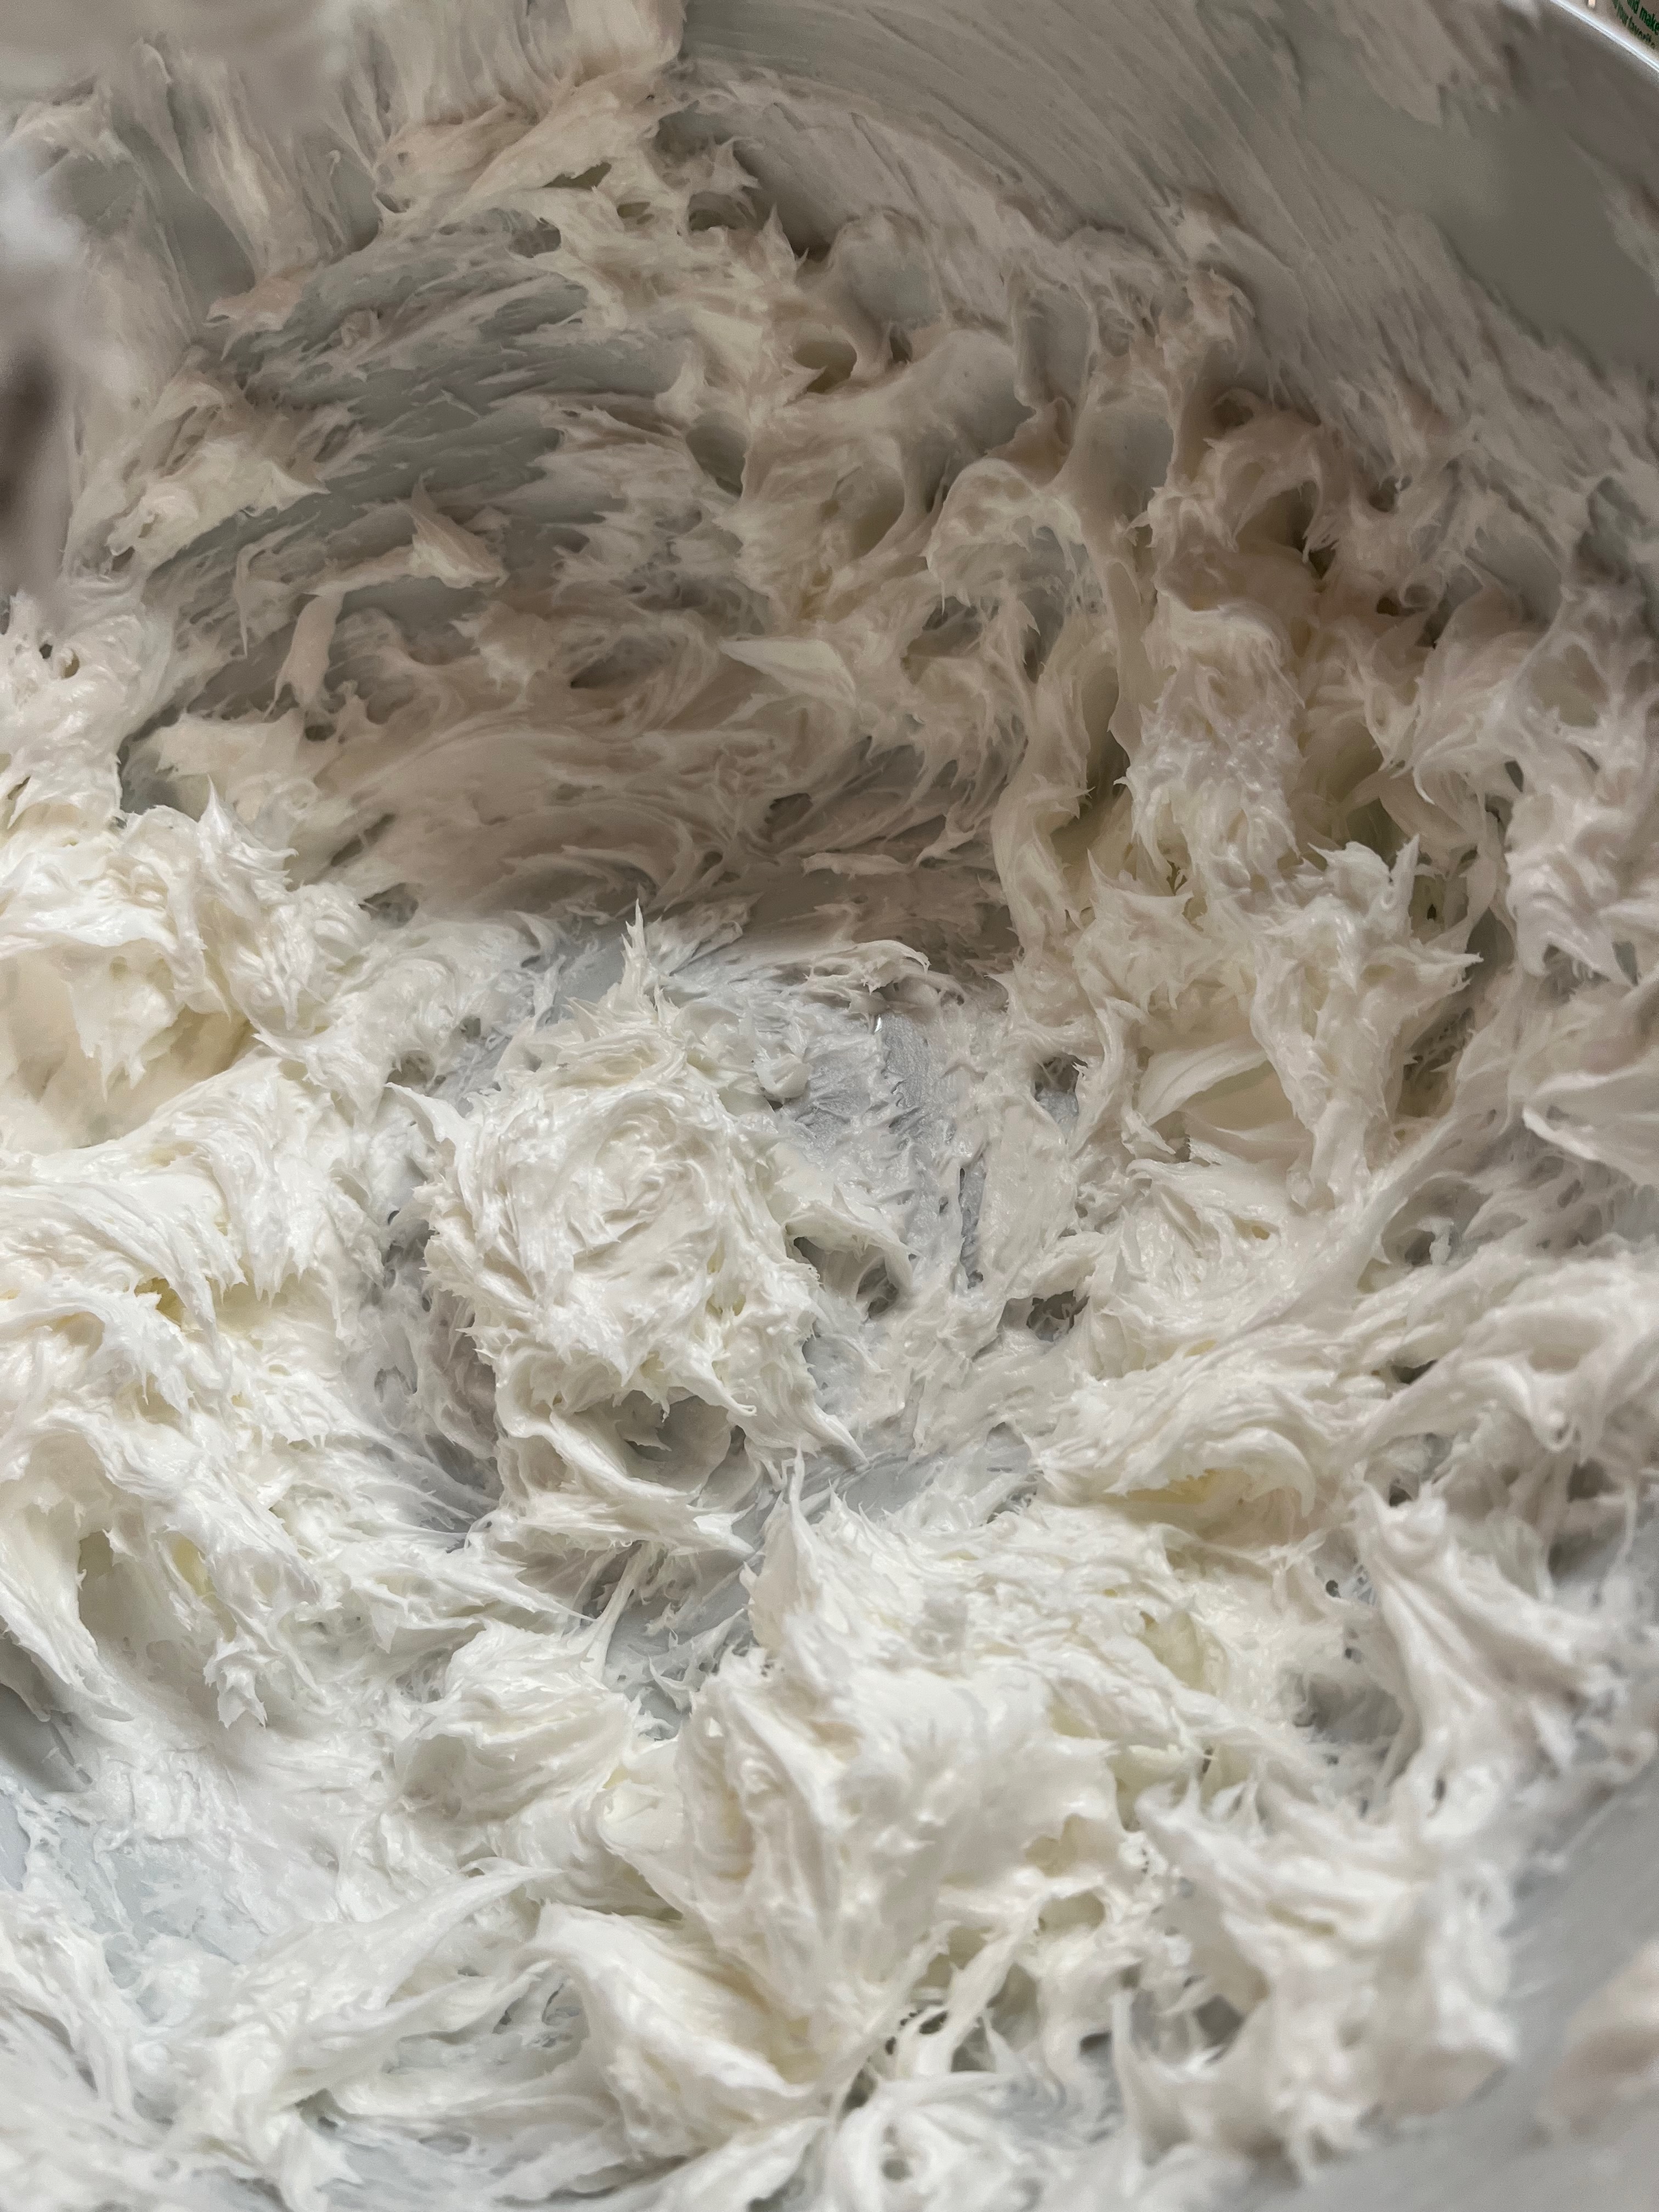
Using the large owl of a stand mixer, (please DON'T try this with a hand mixer! You'll be finding little dough globs all over your counter for days afterwards if you do!) cream the lard, salt and baking powder together until it's light and fluffy.
-
Start incorporating the masa about one cup at a time, alternating with the chicken stock.

-
Continue to add the masa, adding chicken stock as you go.
-
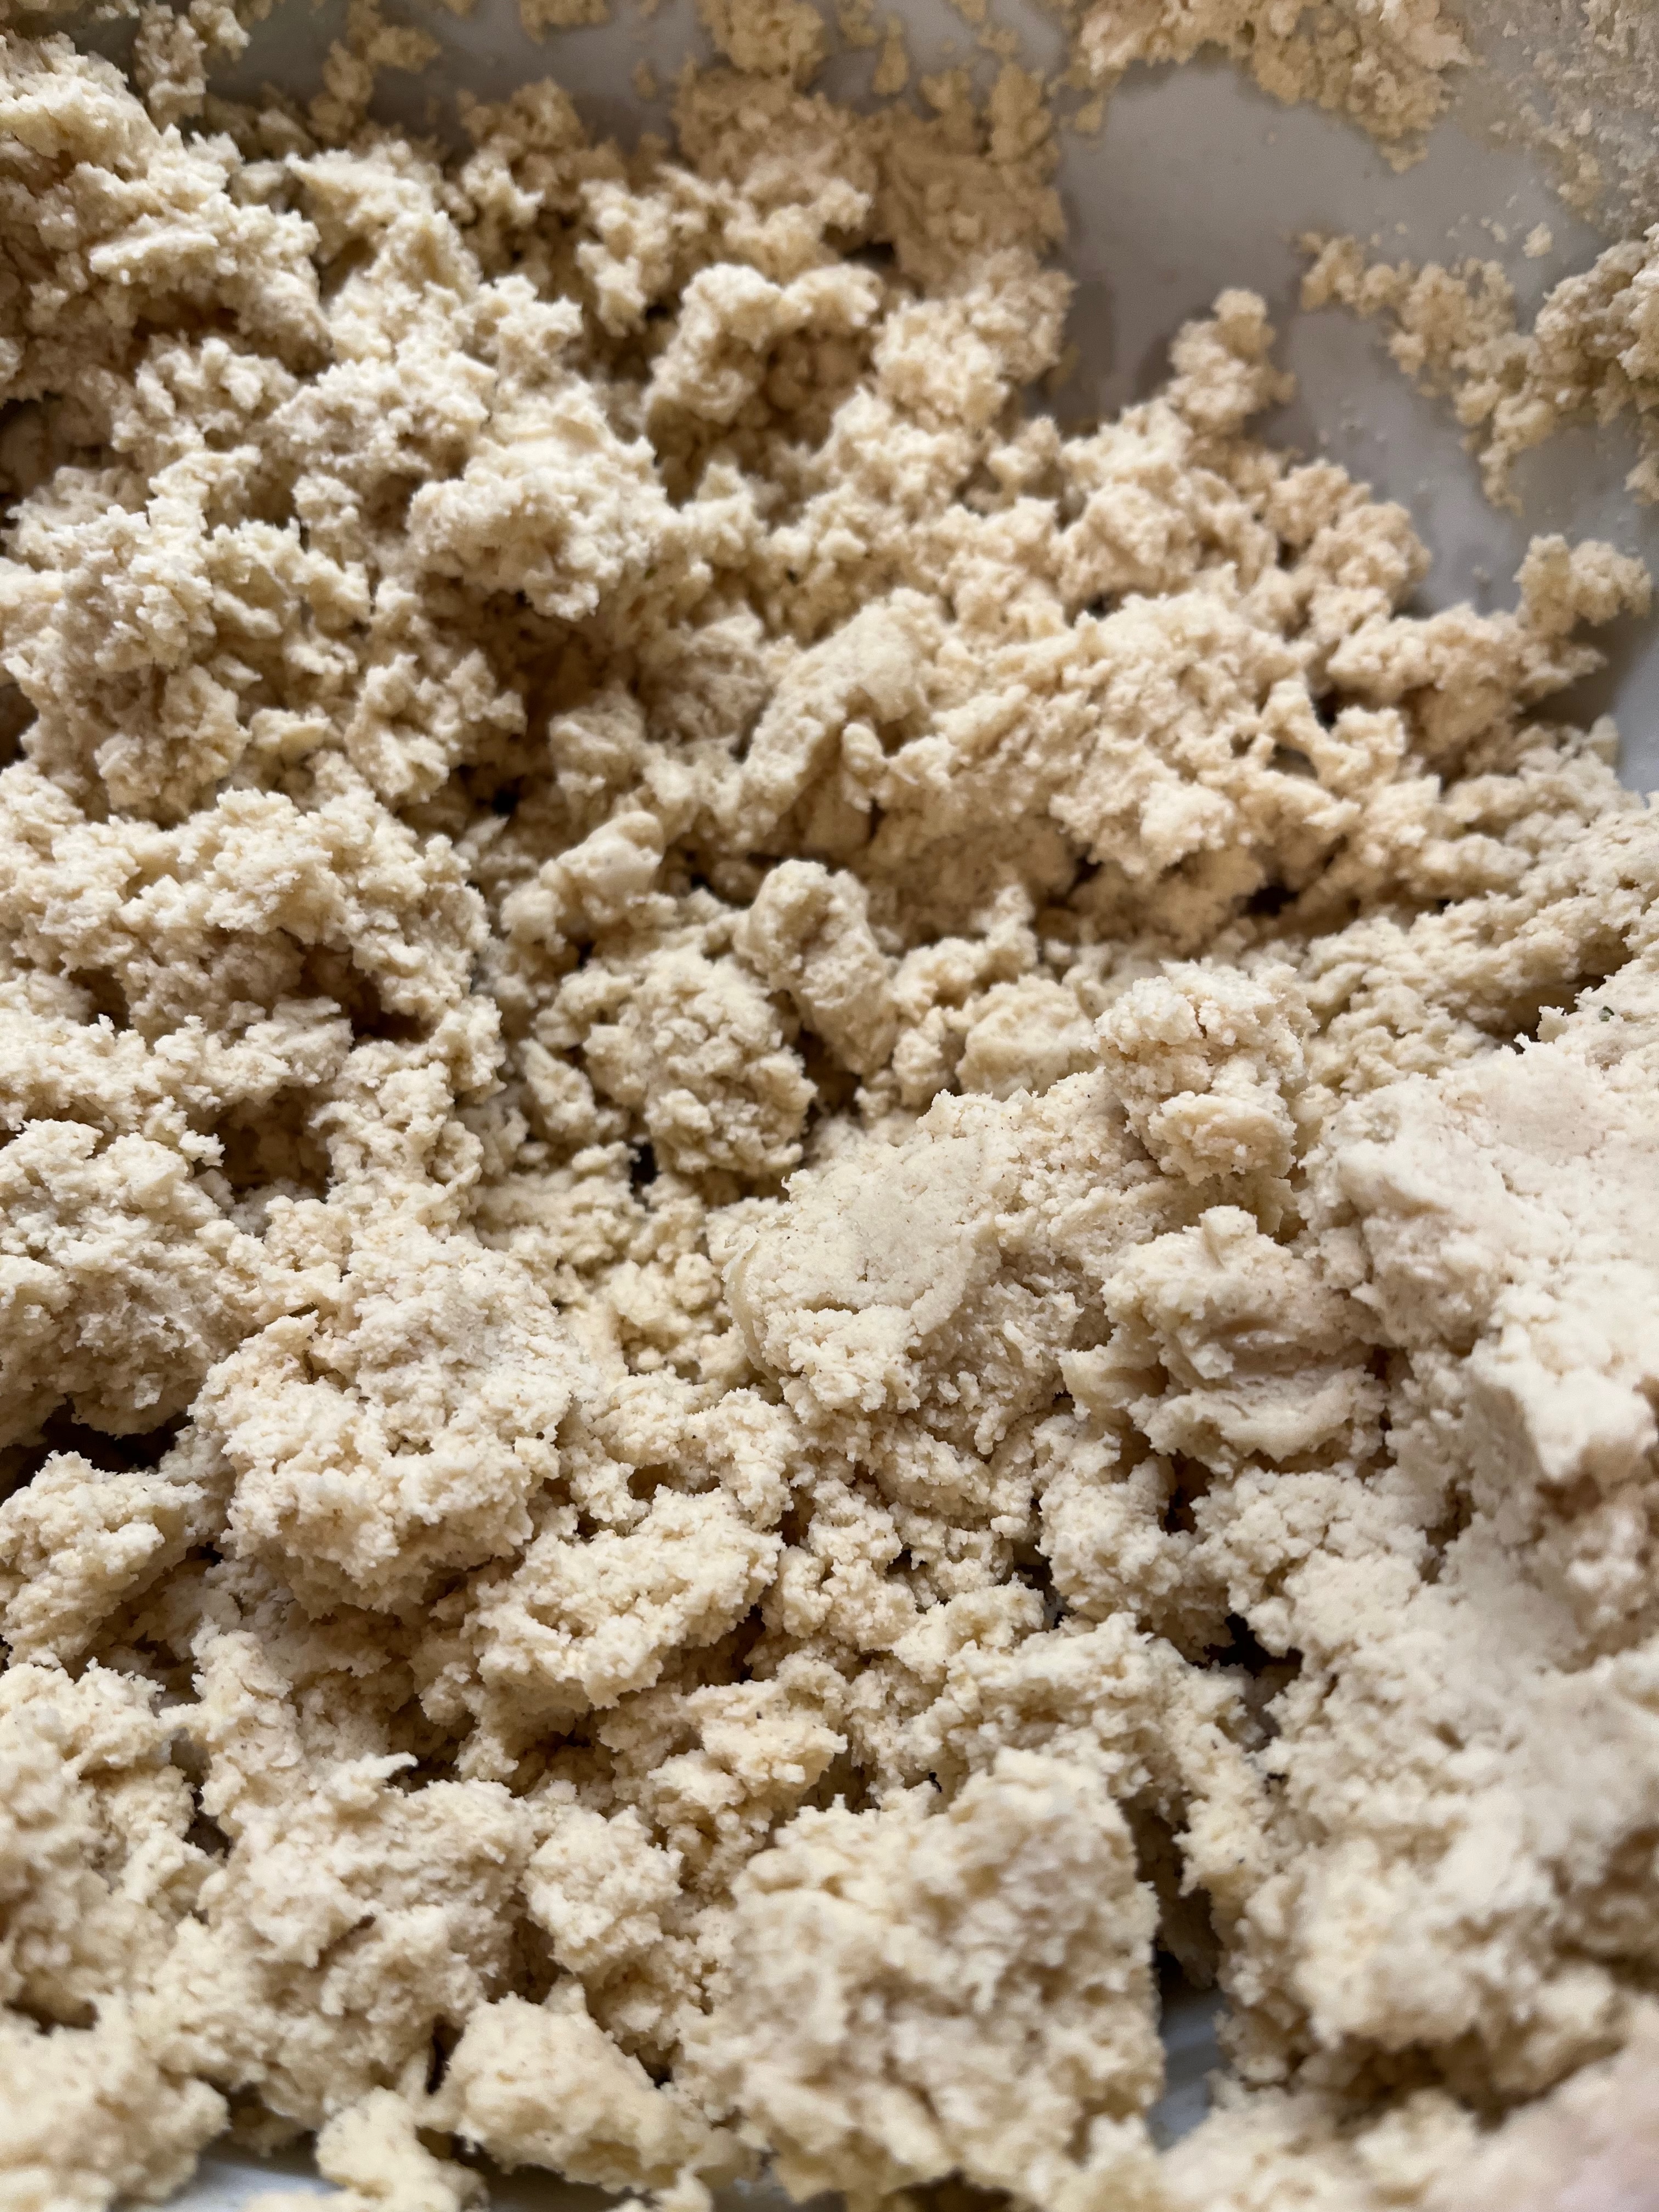
Add enough chicken stock to get the dough to a consistency of about cookie dough. [There are many different versions of the perfect tamale dough--many call for the consistency of hummus, others, the consistency of cookie dough. I found this consistency to be easy to work with once I started actually making the tamales, but this is by no means the perfect version of tamale dough.] Cover the dough and chill it for about an hour.

-
While the dough is chilling, heat olive or pecan oil in a large, heavy saute pan. Once hot, add the beef and spices and stir to mix. Heat through and add spices to your liking.

-
Drain the water from the corn husks in a colander. Remove the dough from the fridge and set up your assembly program on a large, flat surface--I used my biggest cutting board.

-
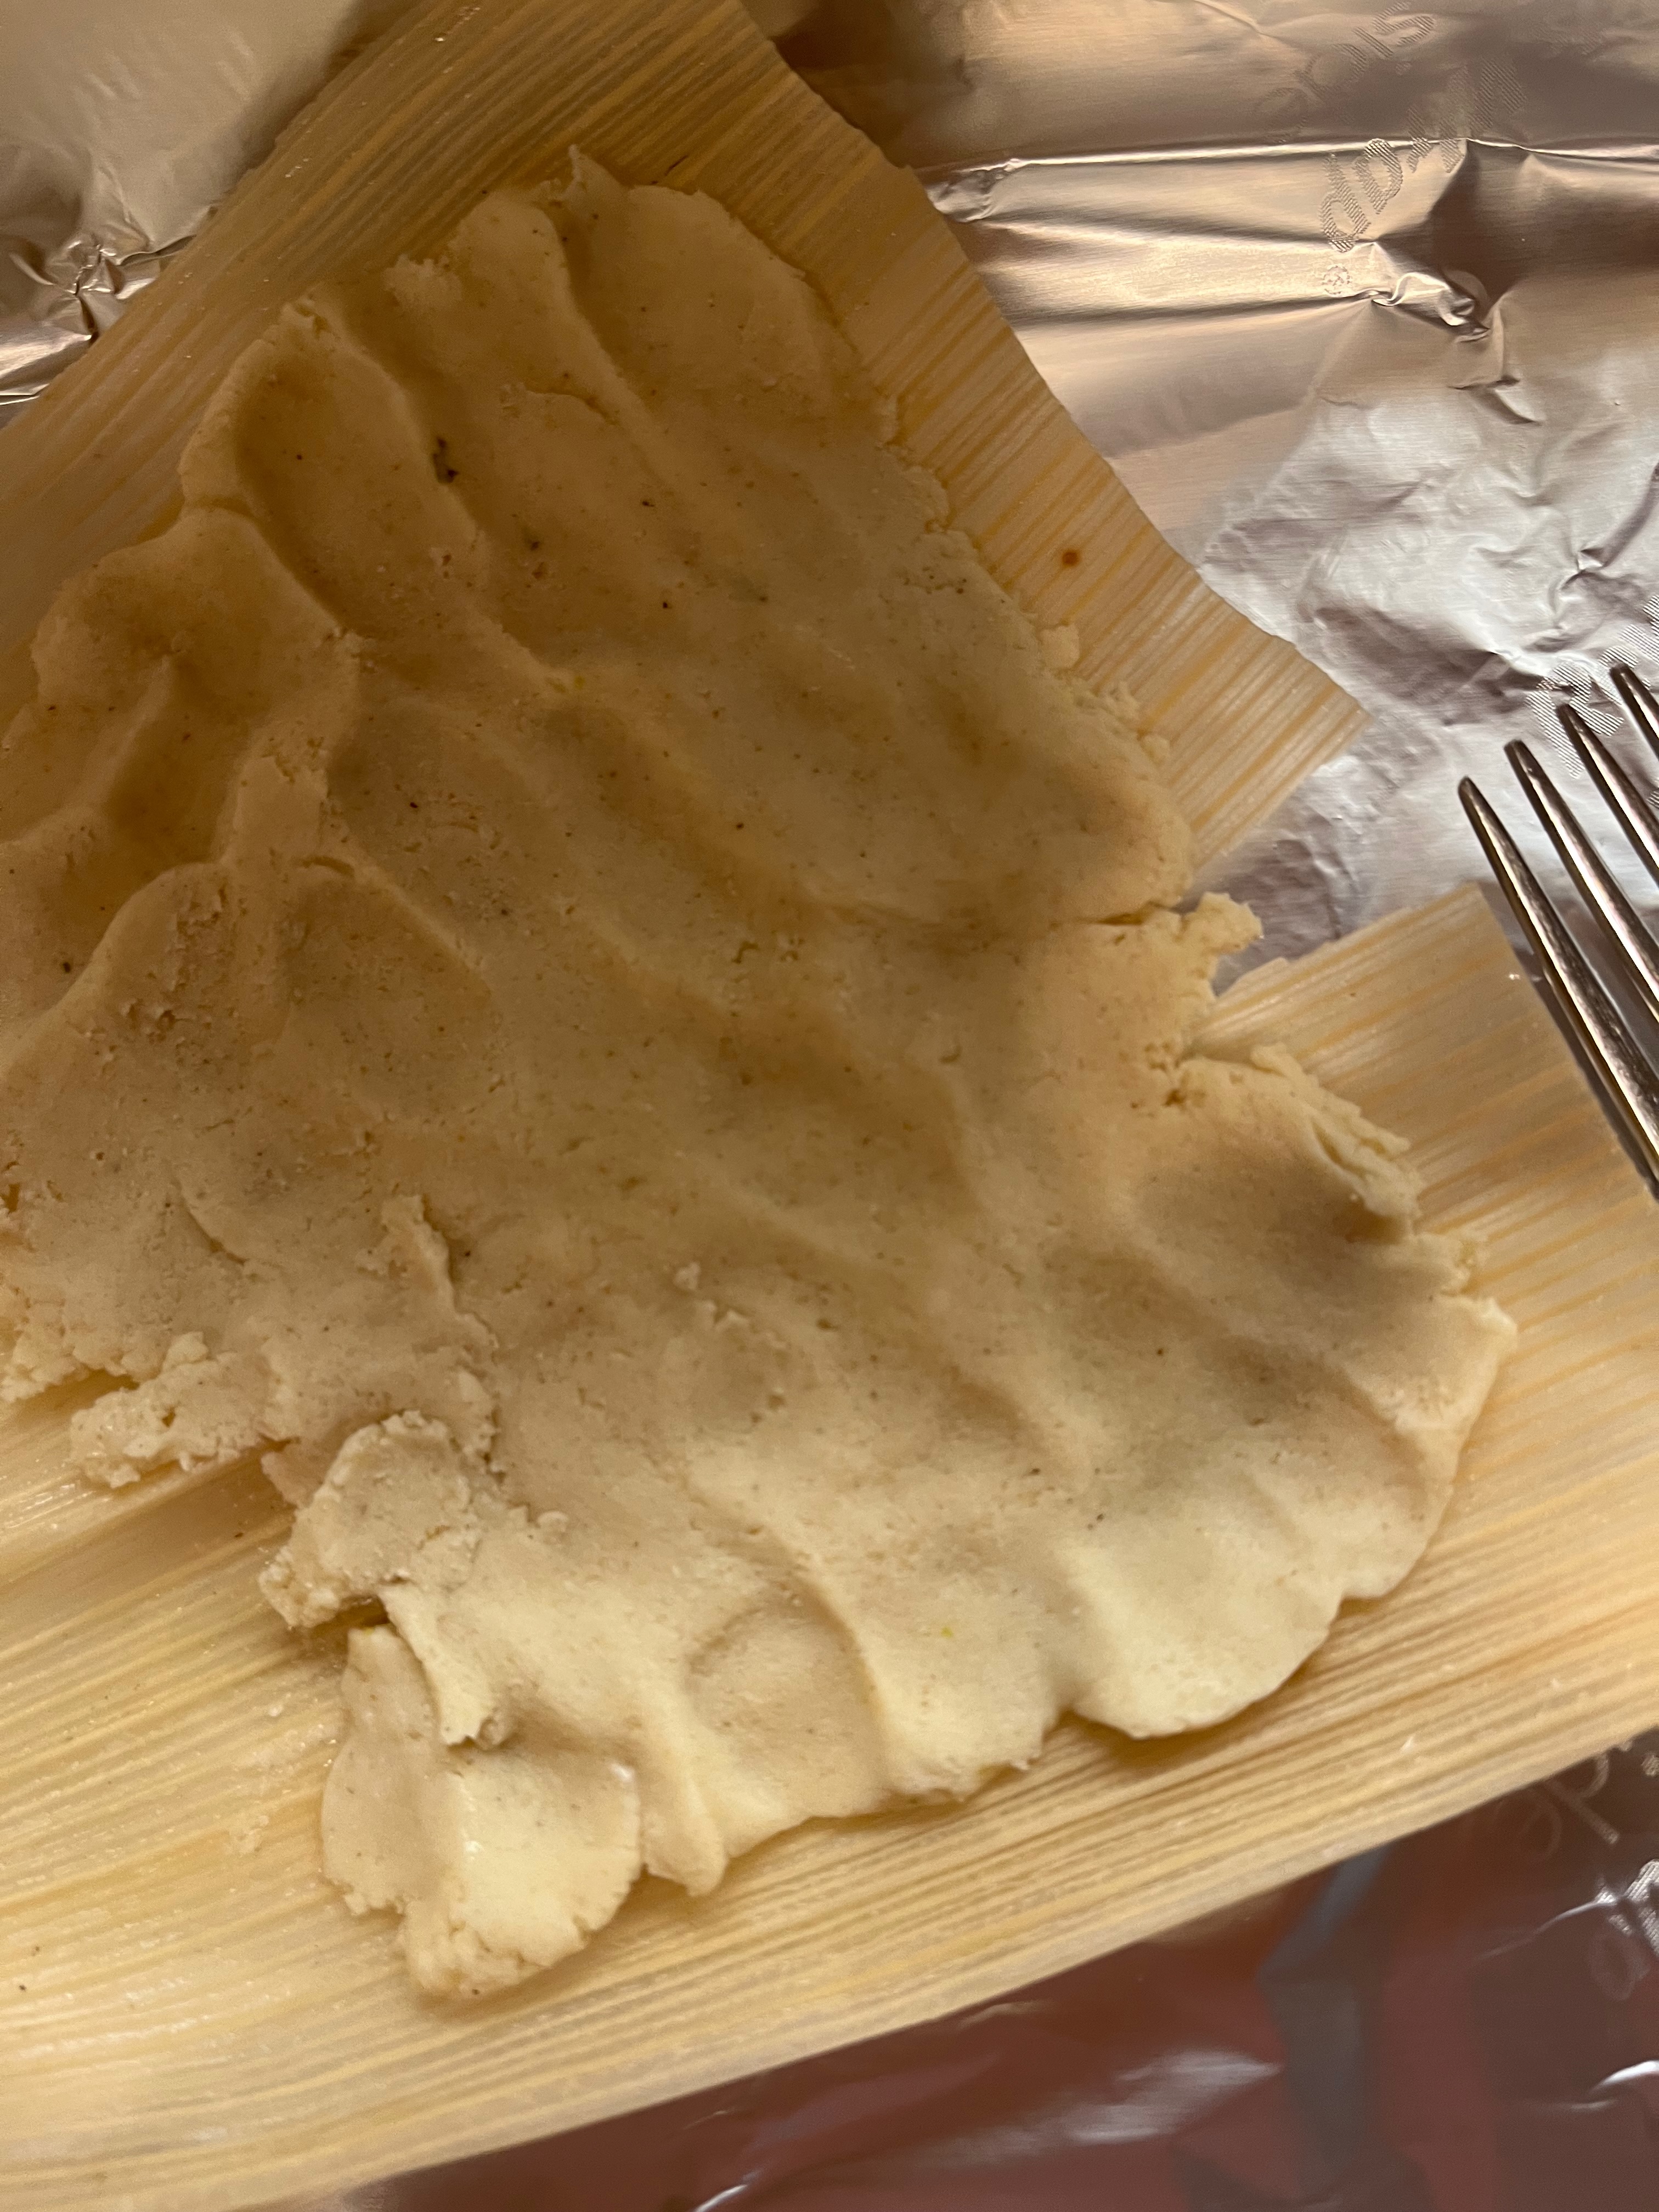
Because the dough has a fair amount of fat in it, it will not stick to slightly wet fingers and I found that the dough was easiest to handle with my fingertips. Place a corn husk out flat on your prep surface and place about 1.5-2 tablespoons of dough on the upper, larger side of the husk. Flatten the dough out with your fingertips, down to about 1/3-1/2 of the way down the husk.
-
Fill the center with about a tablespoon of filling (or however much you'd like).

-
Using the husk as a guide, roll one side over on top of the filling. Gently pull the husk away from the filling (it will stay put because the dough is pretty heavy and will not stick to the wet husk). Then roll the other side of the husk over top, forming a little "burrito" situation.
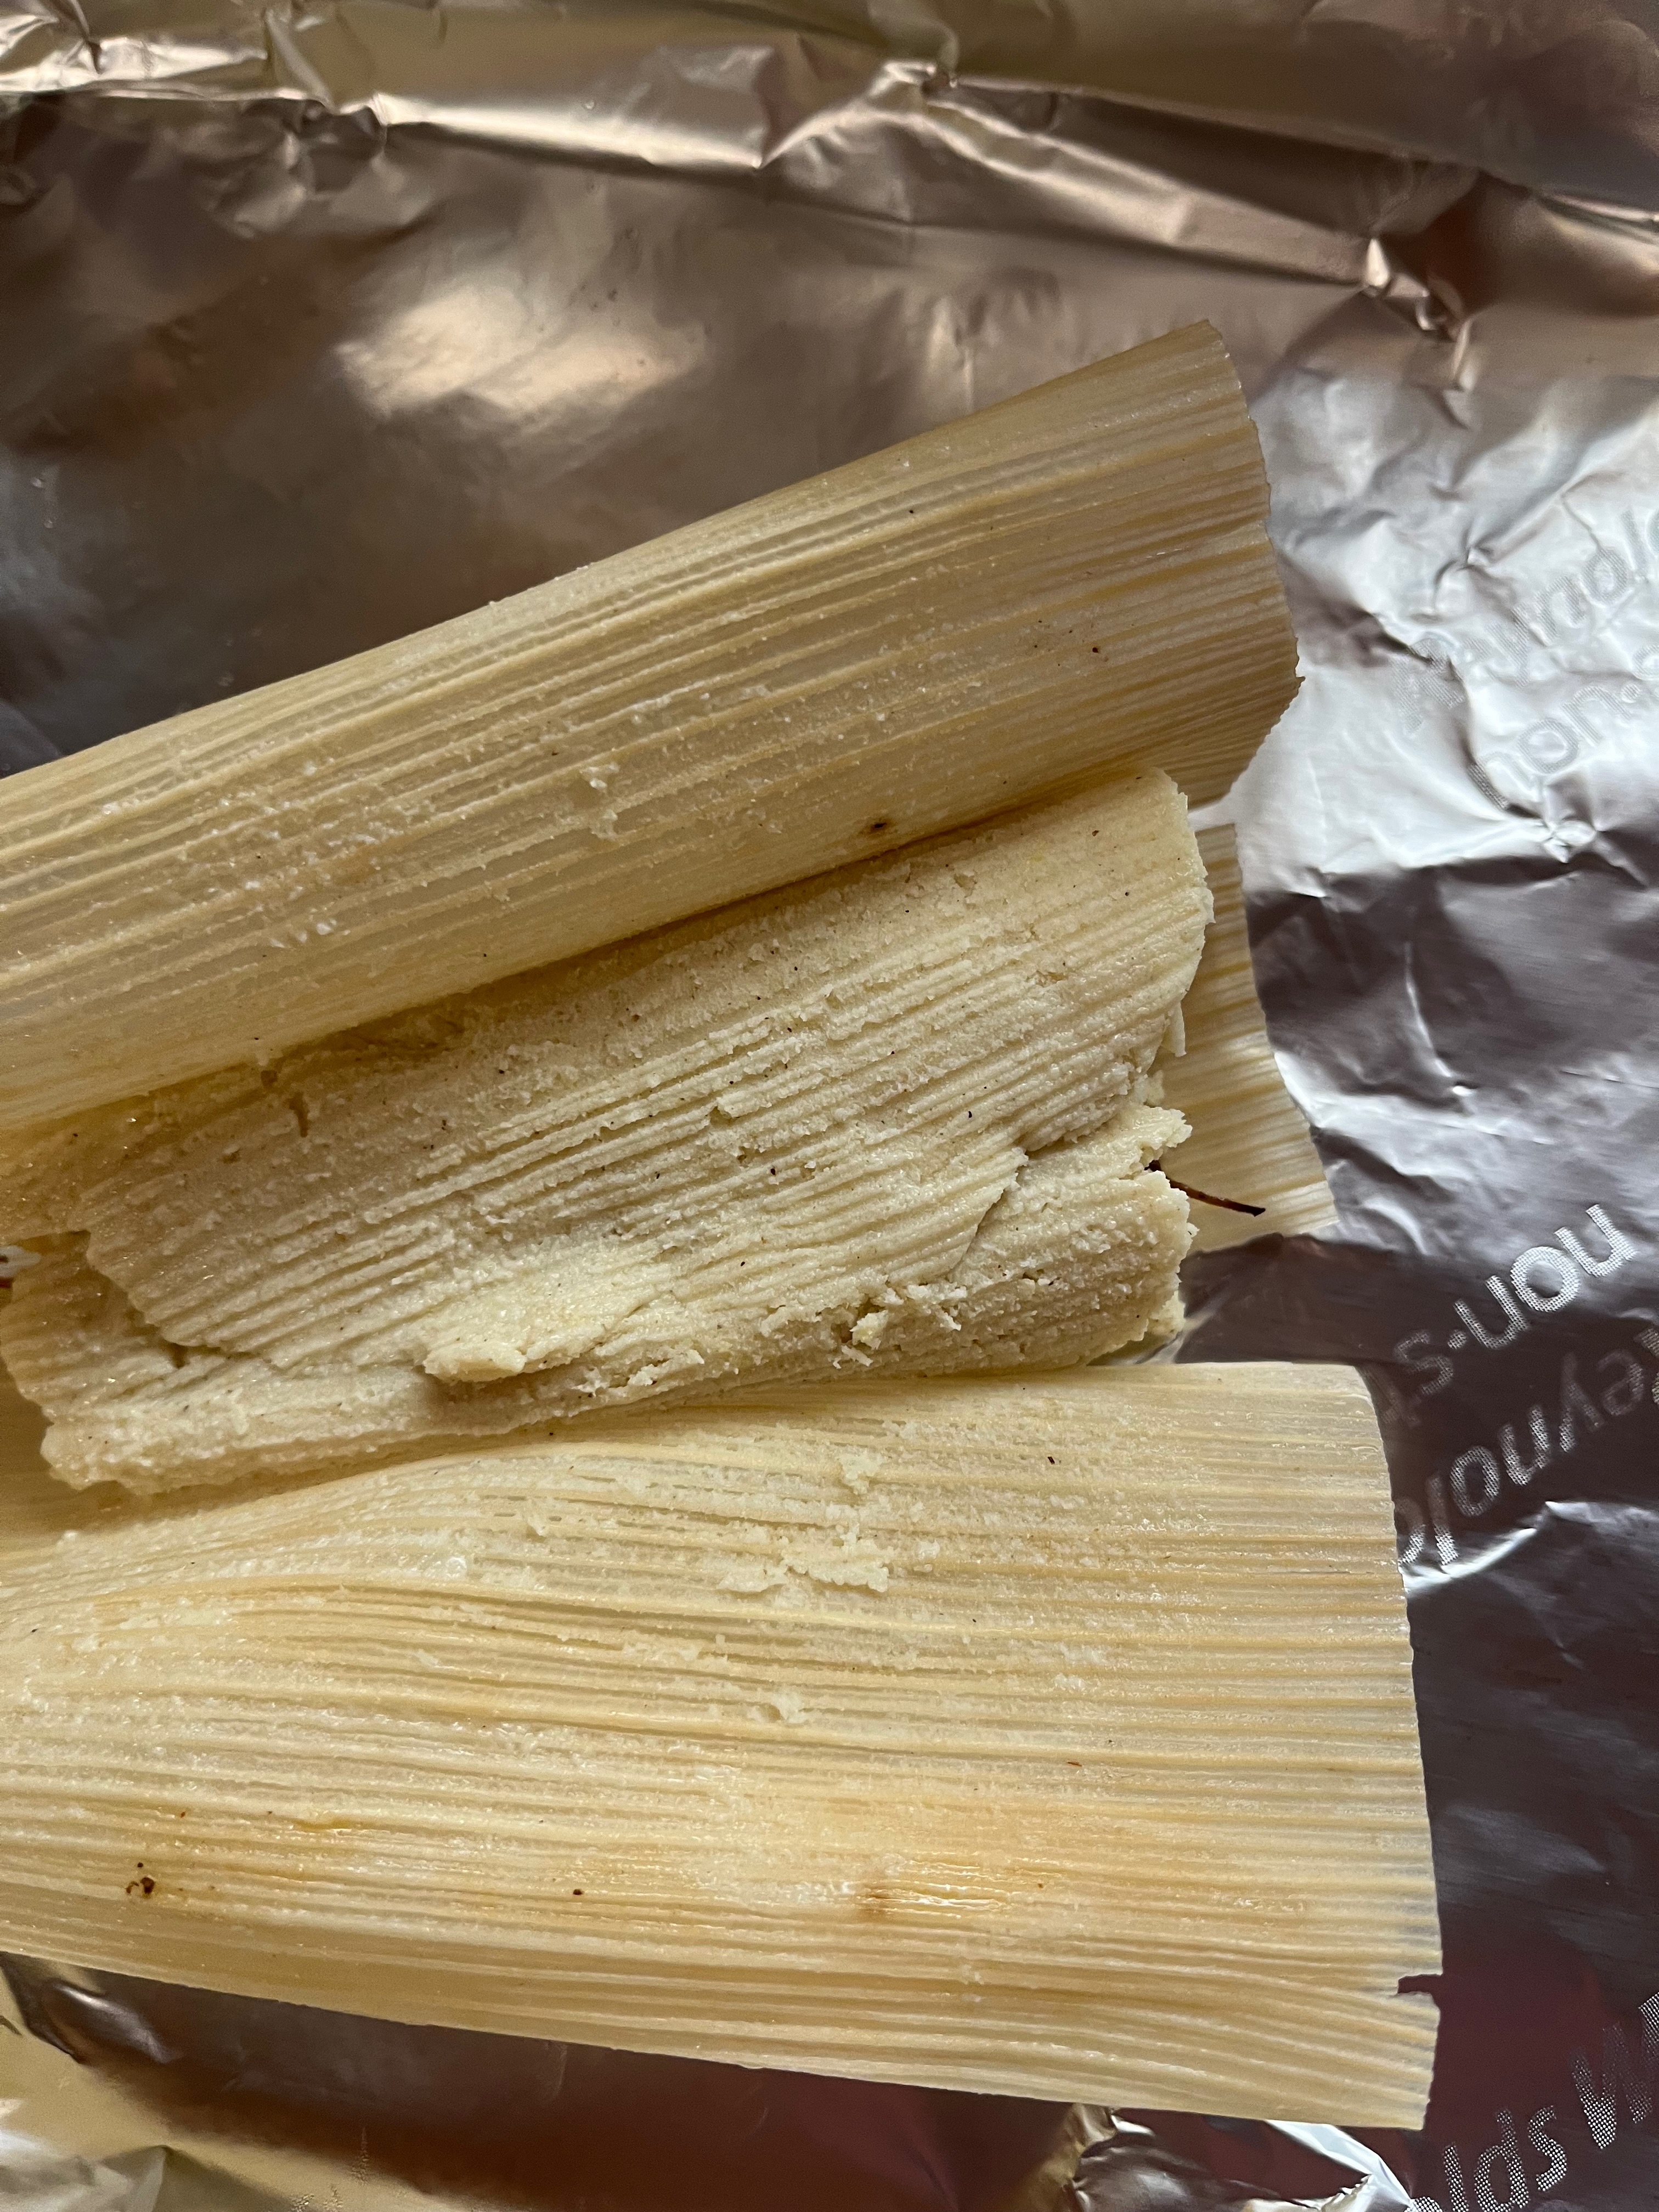
-
Roll the whole thing together and fold the bottom half of the husk over the bottom, leaving the top of the tamale open.
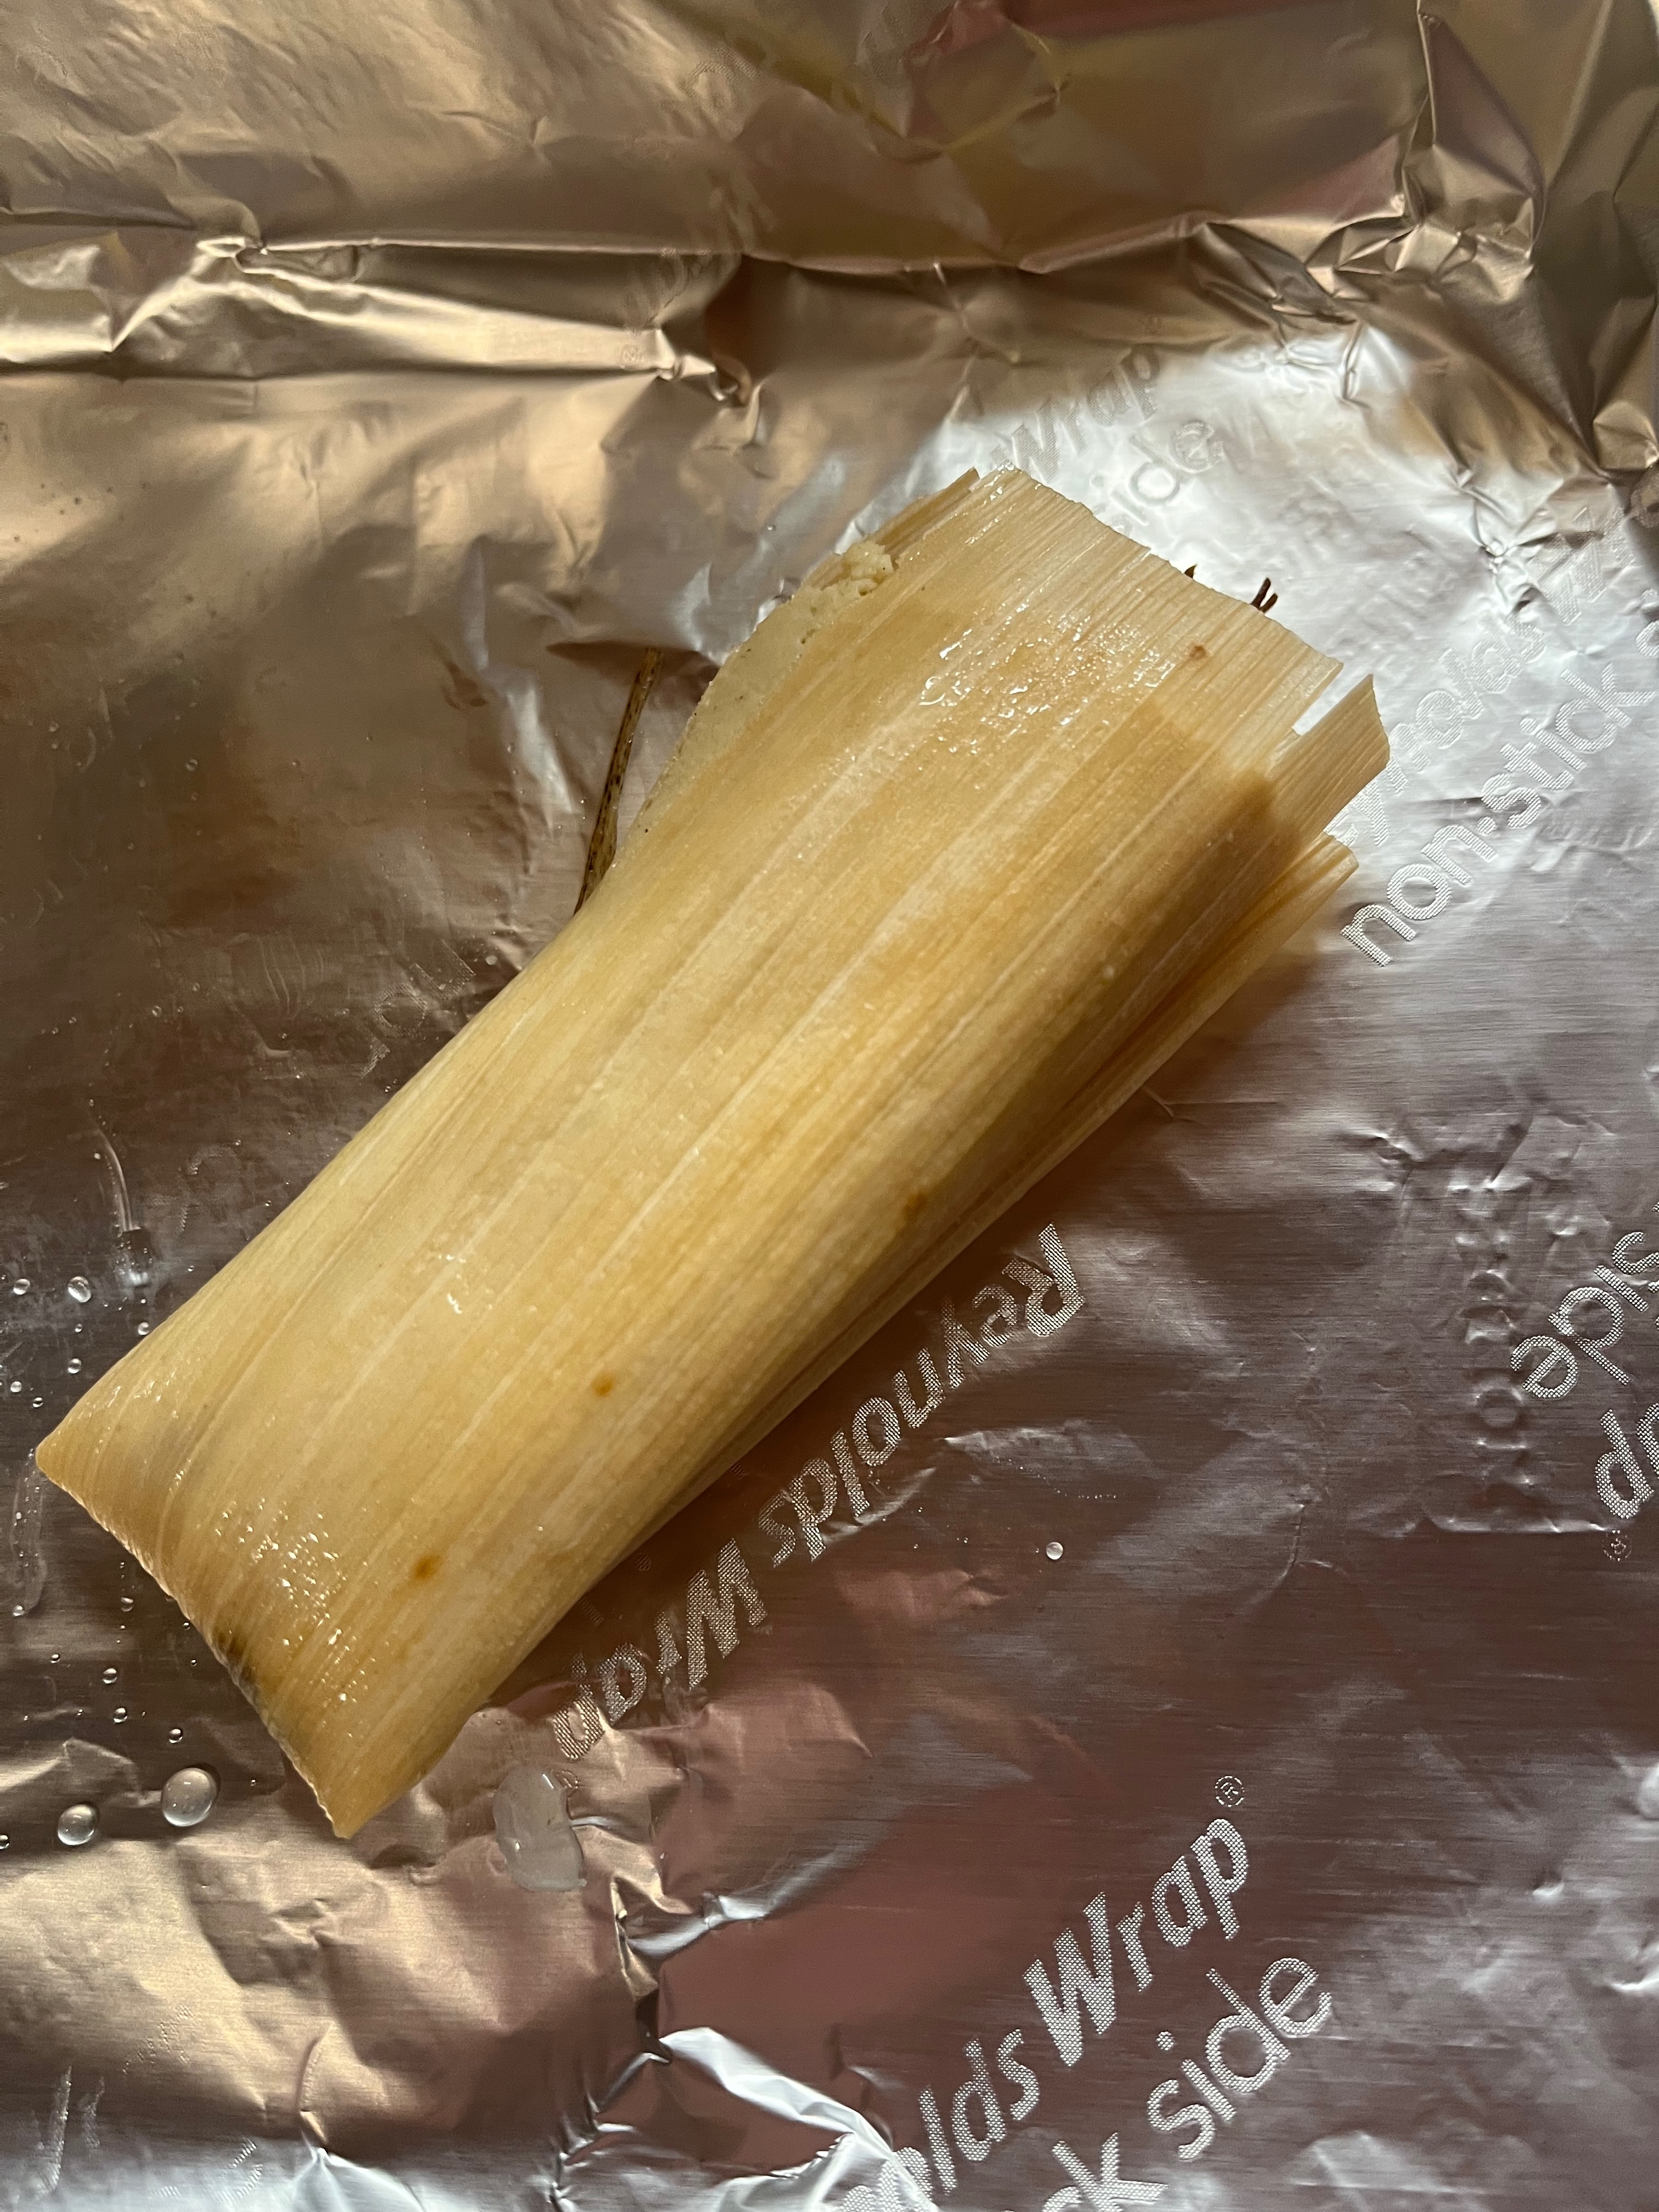
-
Tie the bundle up with a torn piece of corn husk or with kitchen twine. Continue to do this until all the dough and/or meat is used up. I found that I got into a rhythm while doing this, but it still took me about an hour to make about 18 of them.
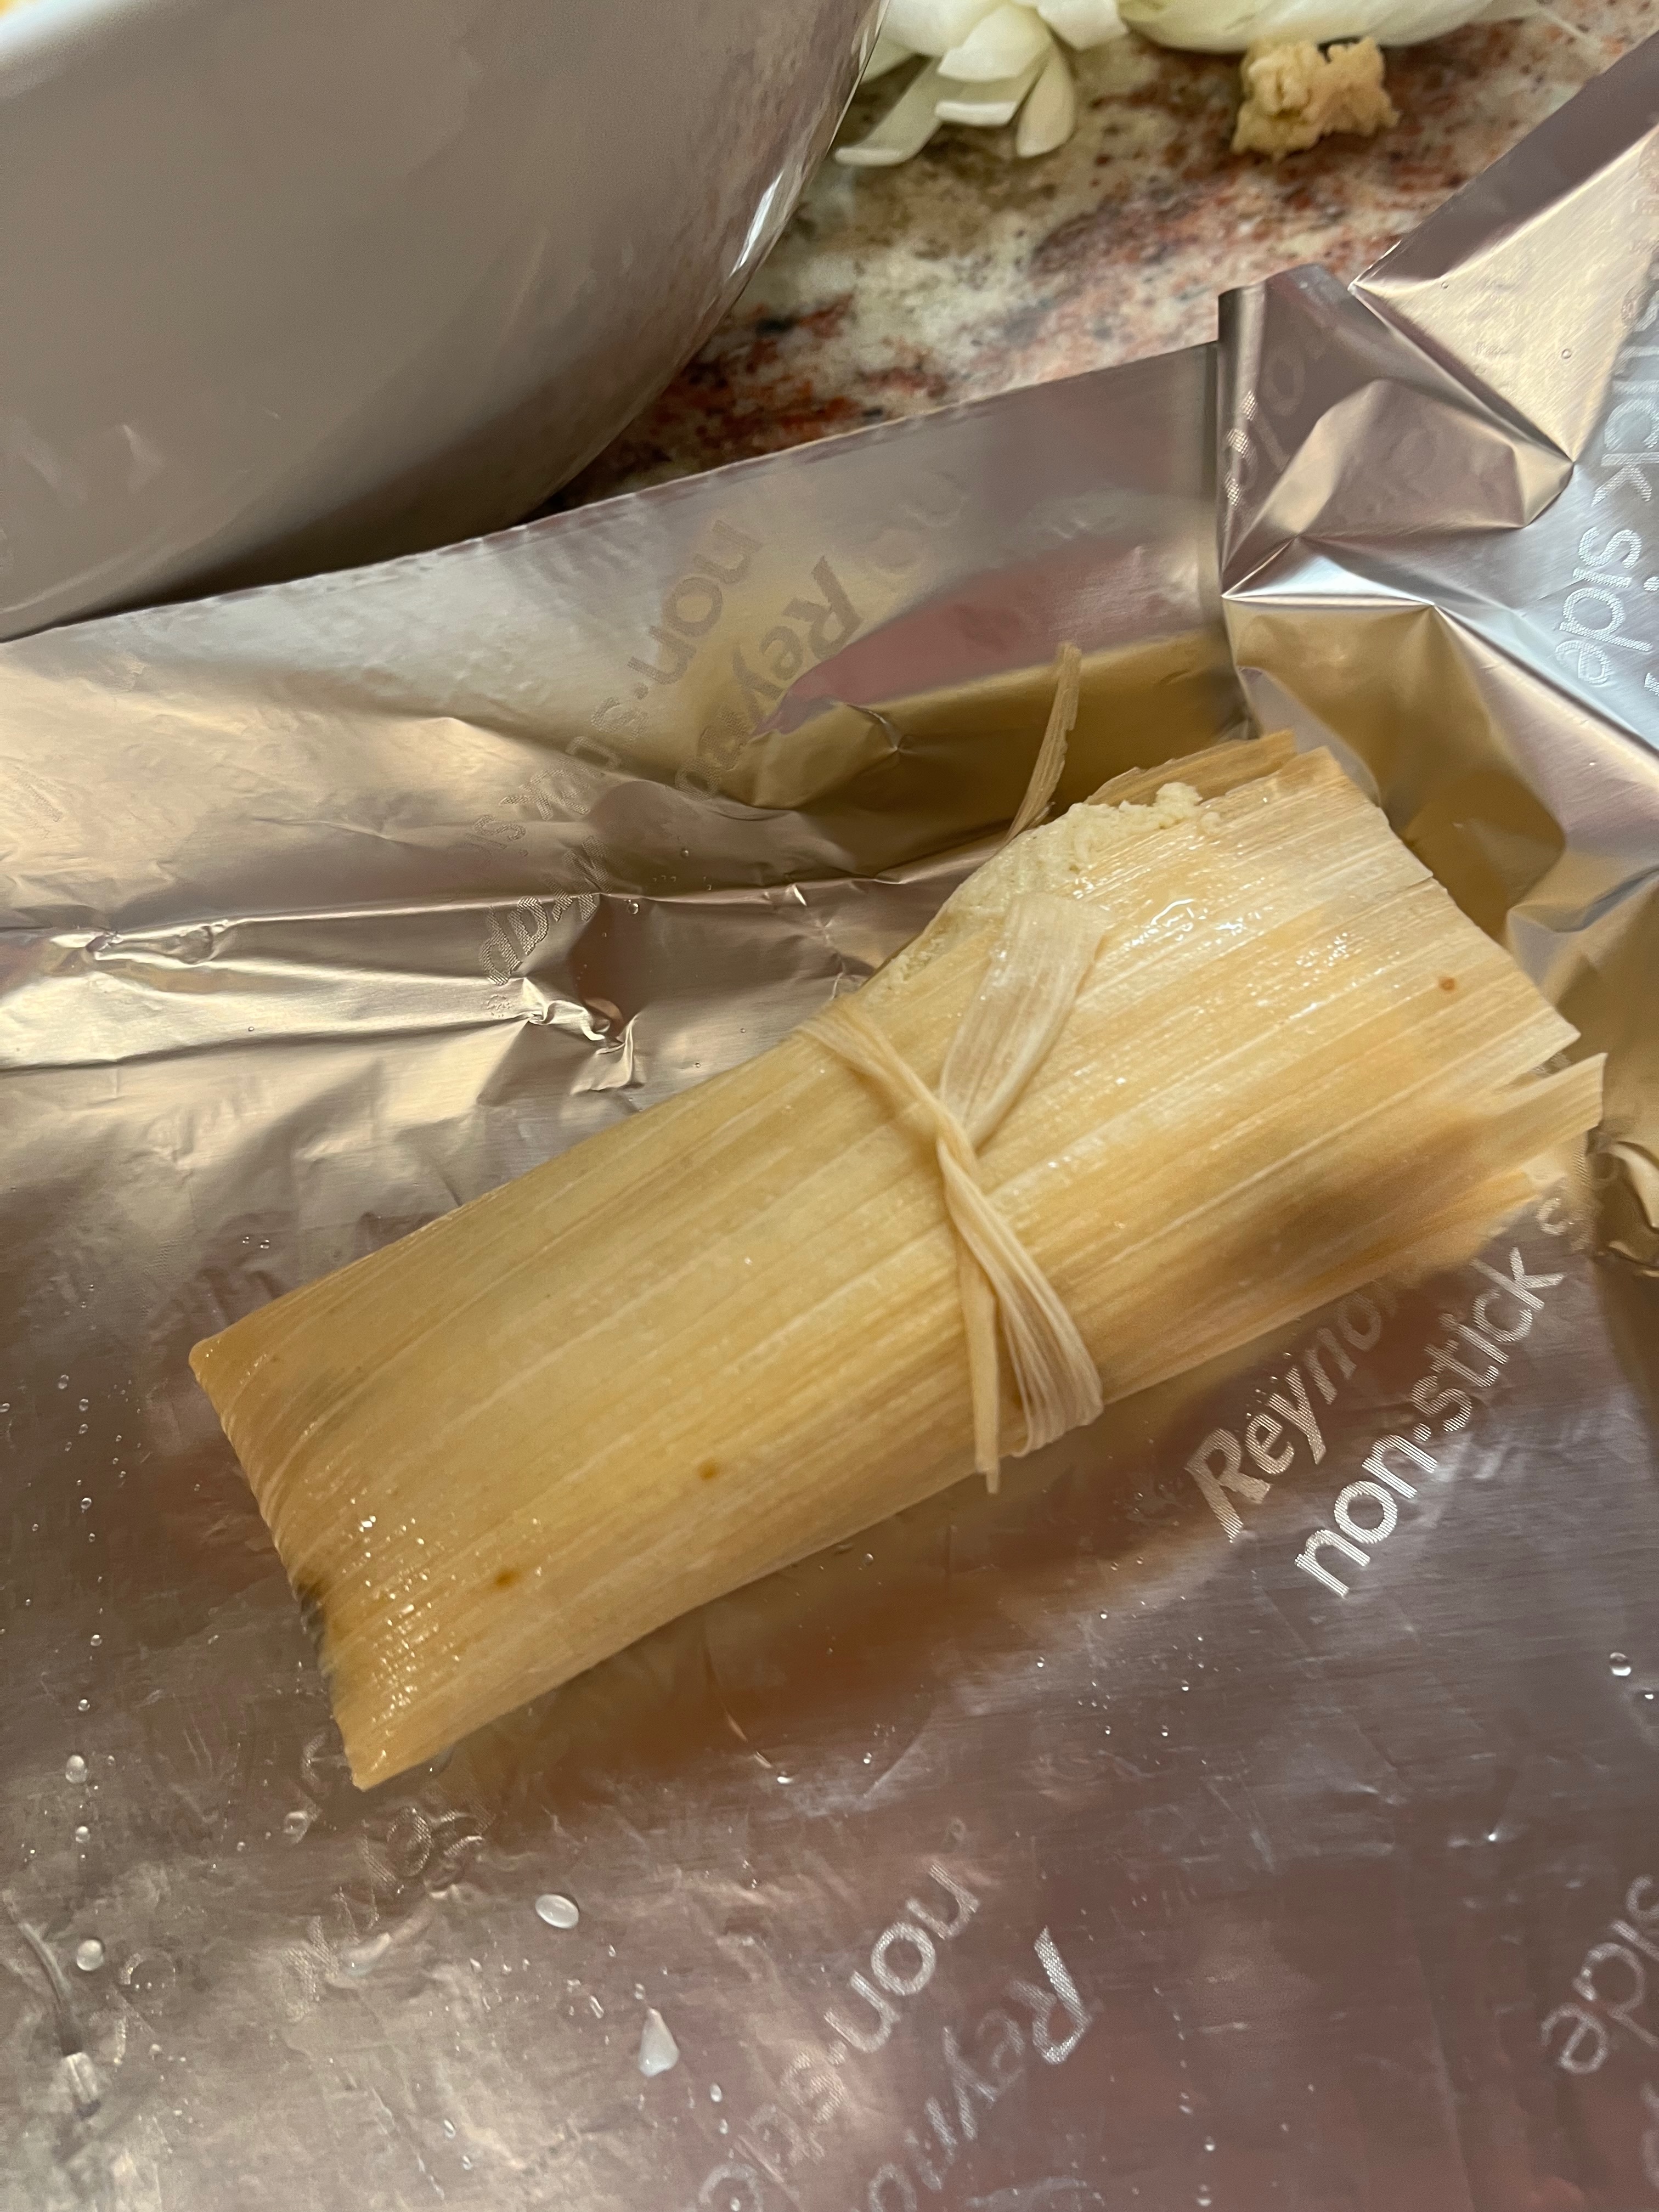
-
Place tamales in a steamer basket with the open tops of the tamales pointed upwards. Cover and steam for about an hour. Serve with your choice of sides. Here, I served it with chili I made from the leftovers from a pot of Keri's Killer Beans and leftover meat and sauce from Keri's Killer Braised Short Ribs.

