
Cherry Cobbler


Cherry Cobbler
Description
Nothing says summer like cherries say "SUMMER!" I have always loved cherries, and the fact that they are available for only a short time--5-6 weeks at the most here in the valley, makes them even more precious to me.
Before it became the high-tech mecca that it is today, Silicon Valley used to be mostly comprised of orchards: apricots, peaches, nuts, and lots and lots of cherries. Today, the vast majority of those orchards have moved elsewhere to make way for business parks and tons of housing. But if you look, you can still find small pockets of orchards right in the middle of the hustle-bustle of the valley!
But, we can still get luscious stone fruit from the Central Valley and cherries always signal the beginning of summer.
For several years, I tutored a lovely Chinese woman who went to college at the University of Tokyo. She waxed poetic about the cherry blossoms in Japan. I had her write an essay about them, and her essay ended with these words:
"Life is like the cherry blossoms: beautiful, short and meant to be enjoyed." I think the same about the cherries...and I couldn't agree more.
**I always try to cook baked goods in a cast iron skillet--the heat retention properties of the cast iron do a superior job making baked good crispy without burning them. If you don't have a cast iron skillet...why not? But seriously, you can follow the same instructions with almost any other 9 x 12 vessel.
Ingredients
Cherry Filling
Cobbler
Instructions
Cherry Mixture
-
Preheat oven to 350*. Adjust oven racks so you can put the skillet into the middle of the oven.
Wash, stem and pit the cherries. A cherry pitting device makes this job much easier--see my review of the OXO multi-cherry-pitting device.
Cut cherries in half and check carefully for remaining pits. Put cherries into a sauce pan and add sugar, liqueur, corn starch and lemon juice to the pan. Stir to mix and start dissolving the sugar. Cook over medium heat until the mixture is bubbly and a little thickened. Put aside.
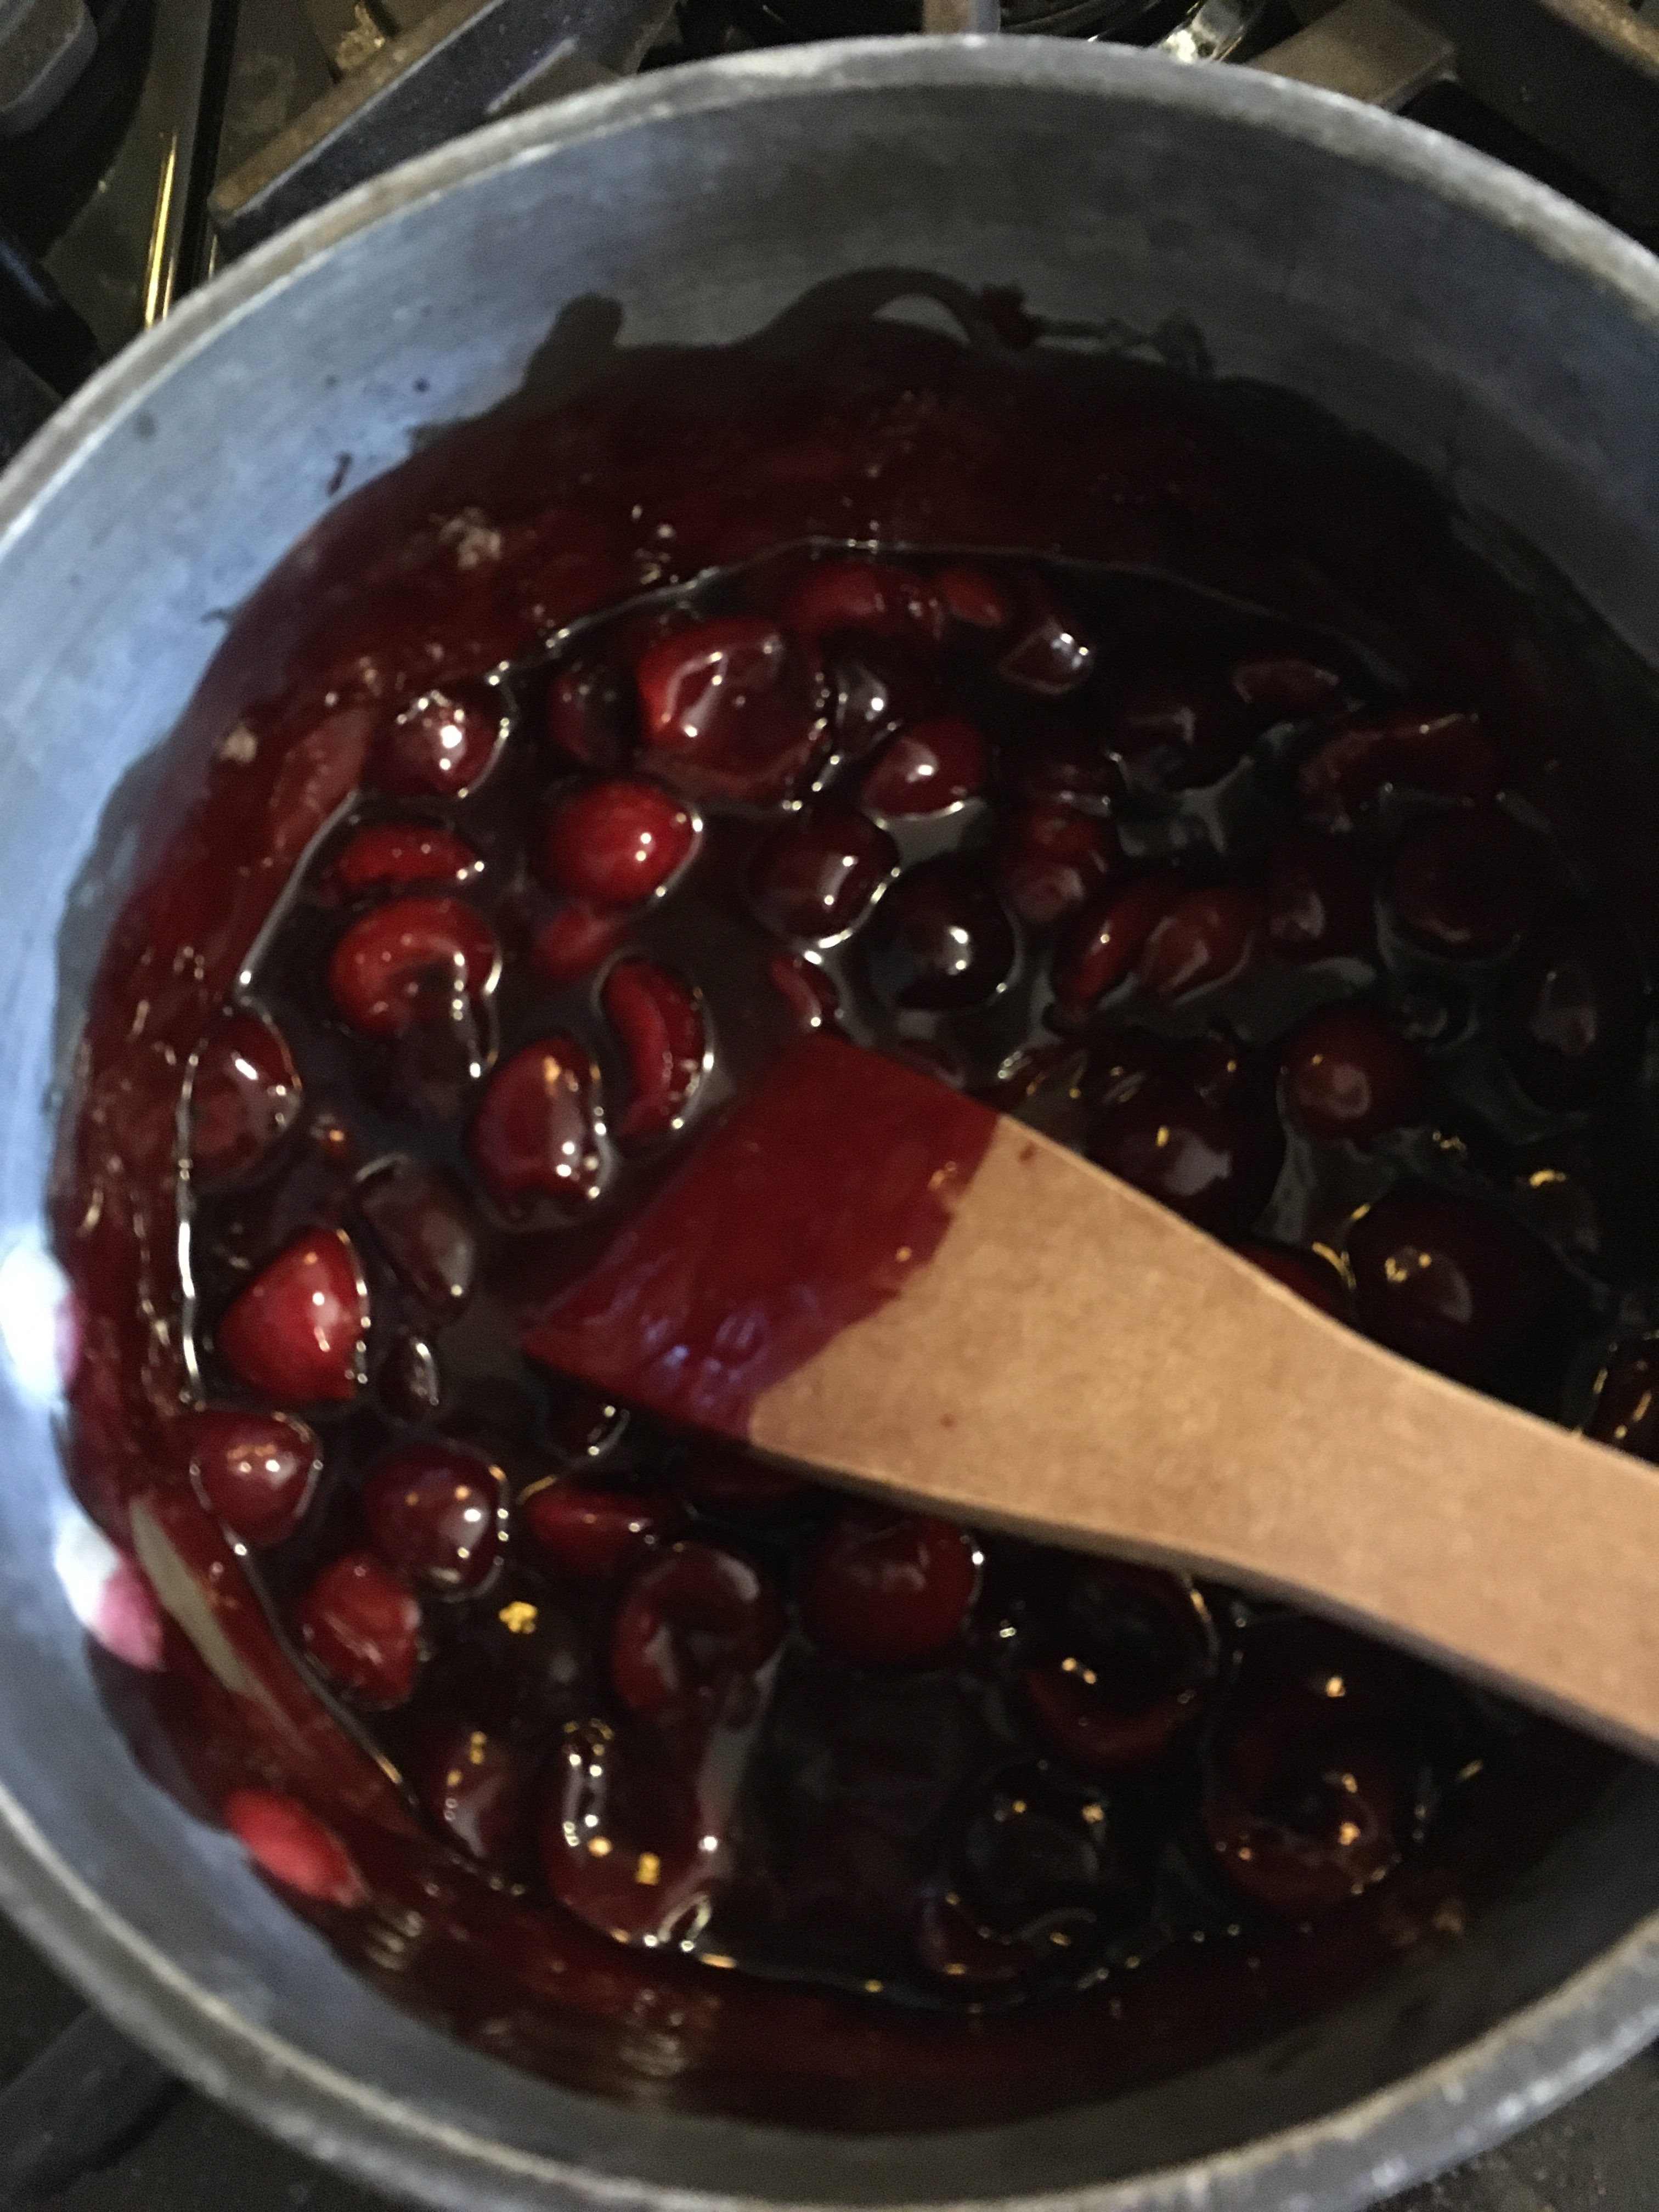
-
Put the butter into a 12" cast iron skillet and place the pan in the pre-heated oven. Let the butter melt in the pan. In the meantime, in a bowl, add the flour, sugar, baking powder and salt and mix well. Once the butter is melted and the pan is nice and hot (but not so hot that the butter is browning), pull the skillet out of the oven.
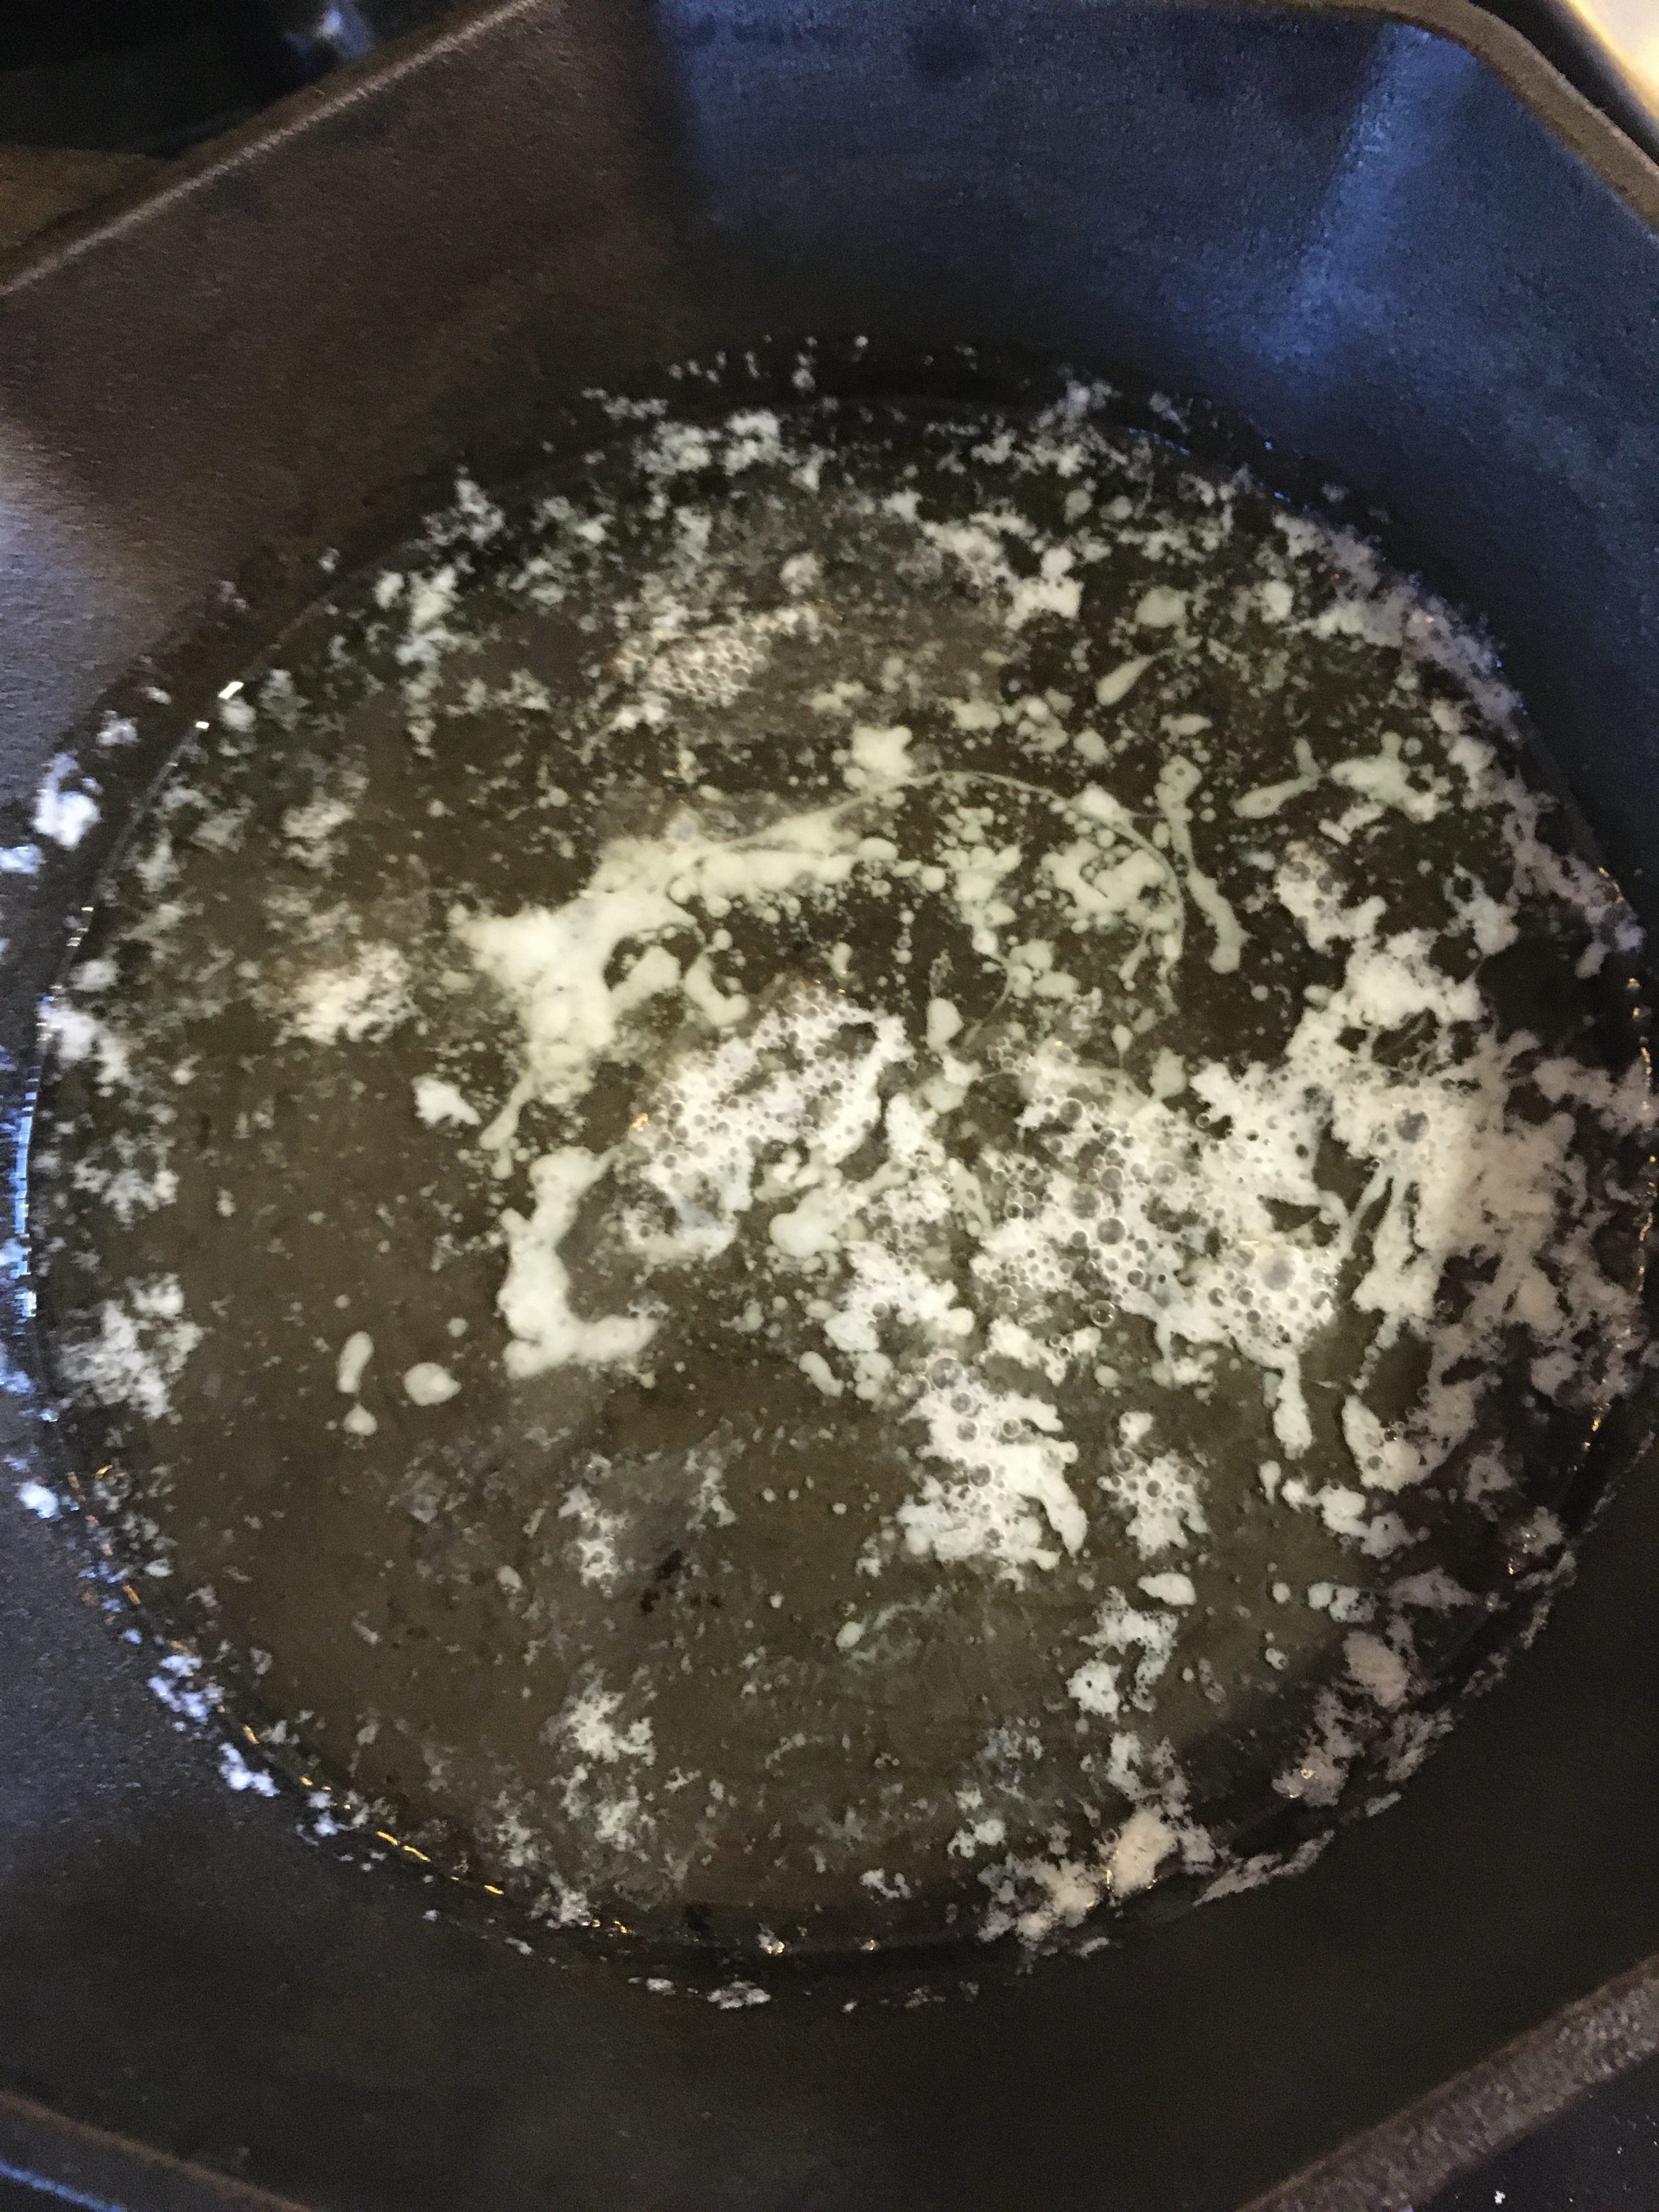
-
Add milk to the flour mixture and mix. It's ok if the mixture is a little lumpy. Pour the flour and milk mixture into the hot pan with the butter and then pour the cherry mixture over top of the flour and milk mixture.
Put the pan back in the oven and cook for 45-50 minute (or until biscuit is set). Check after 20-25 minutes to make sure it is baking evenly and adjust accordingly.
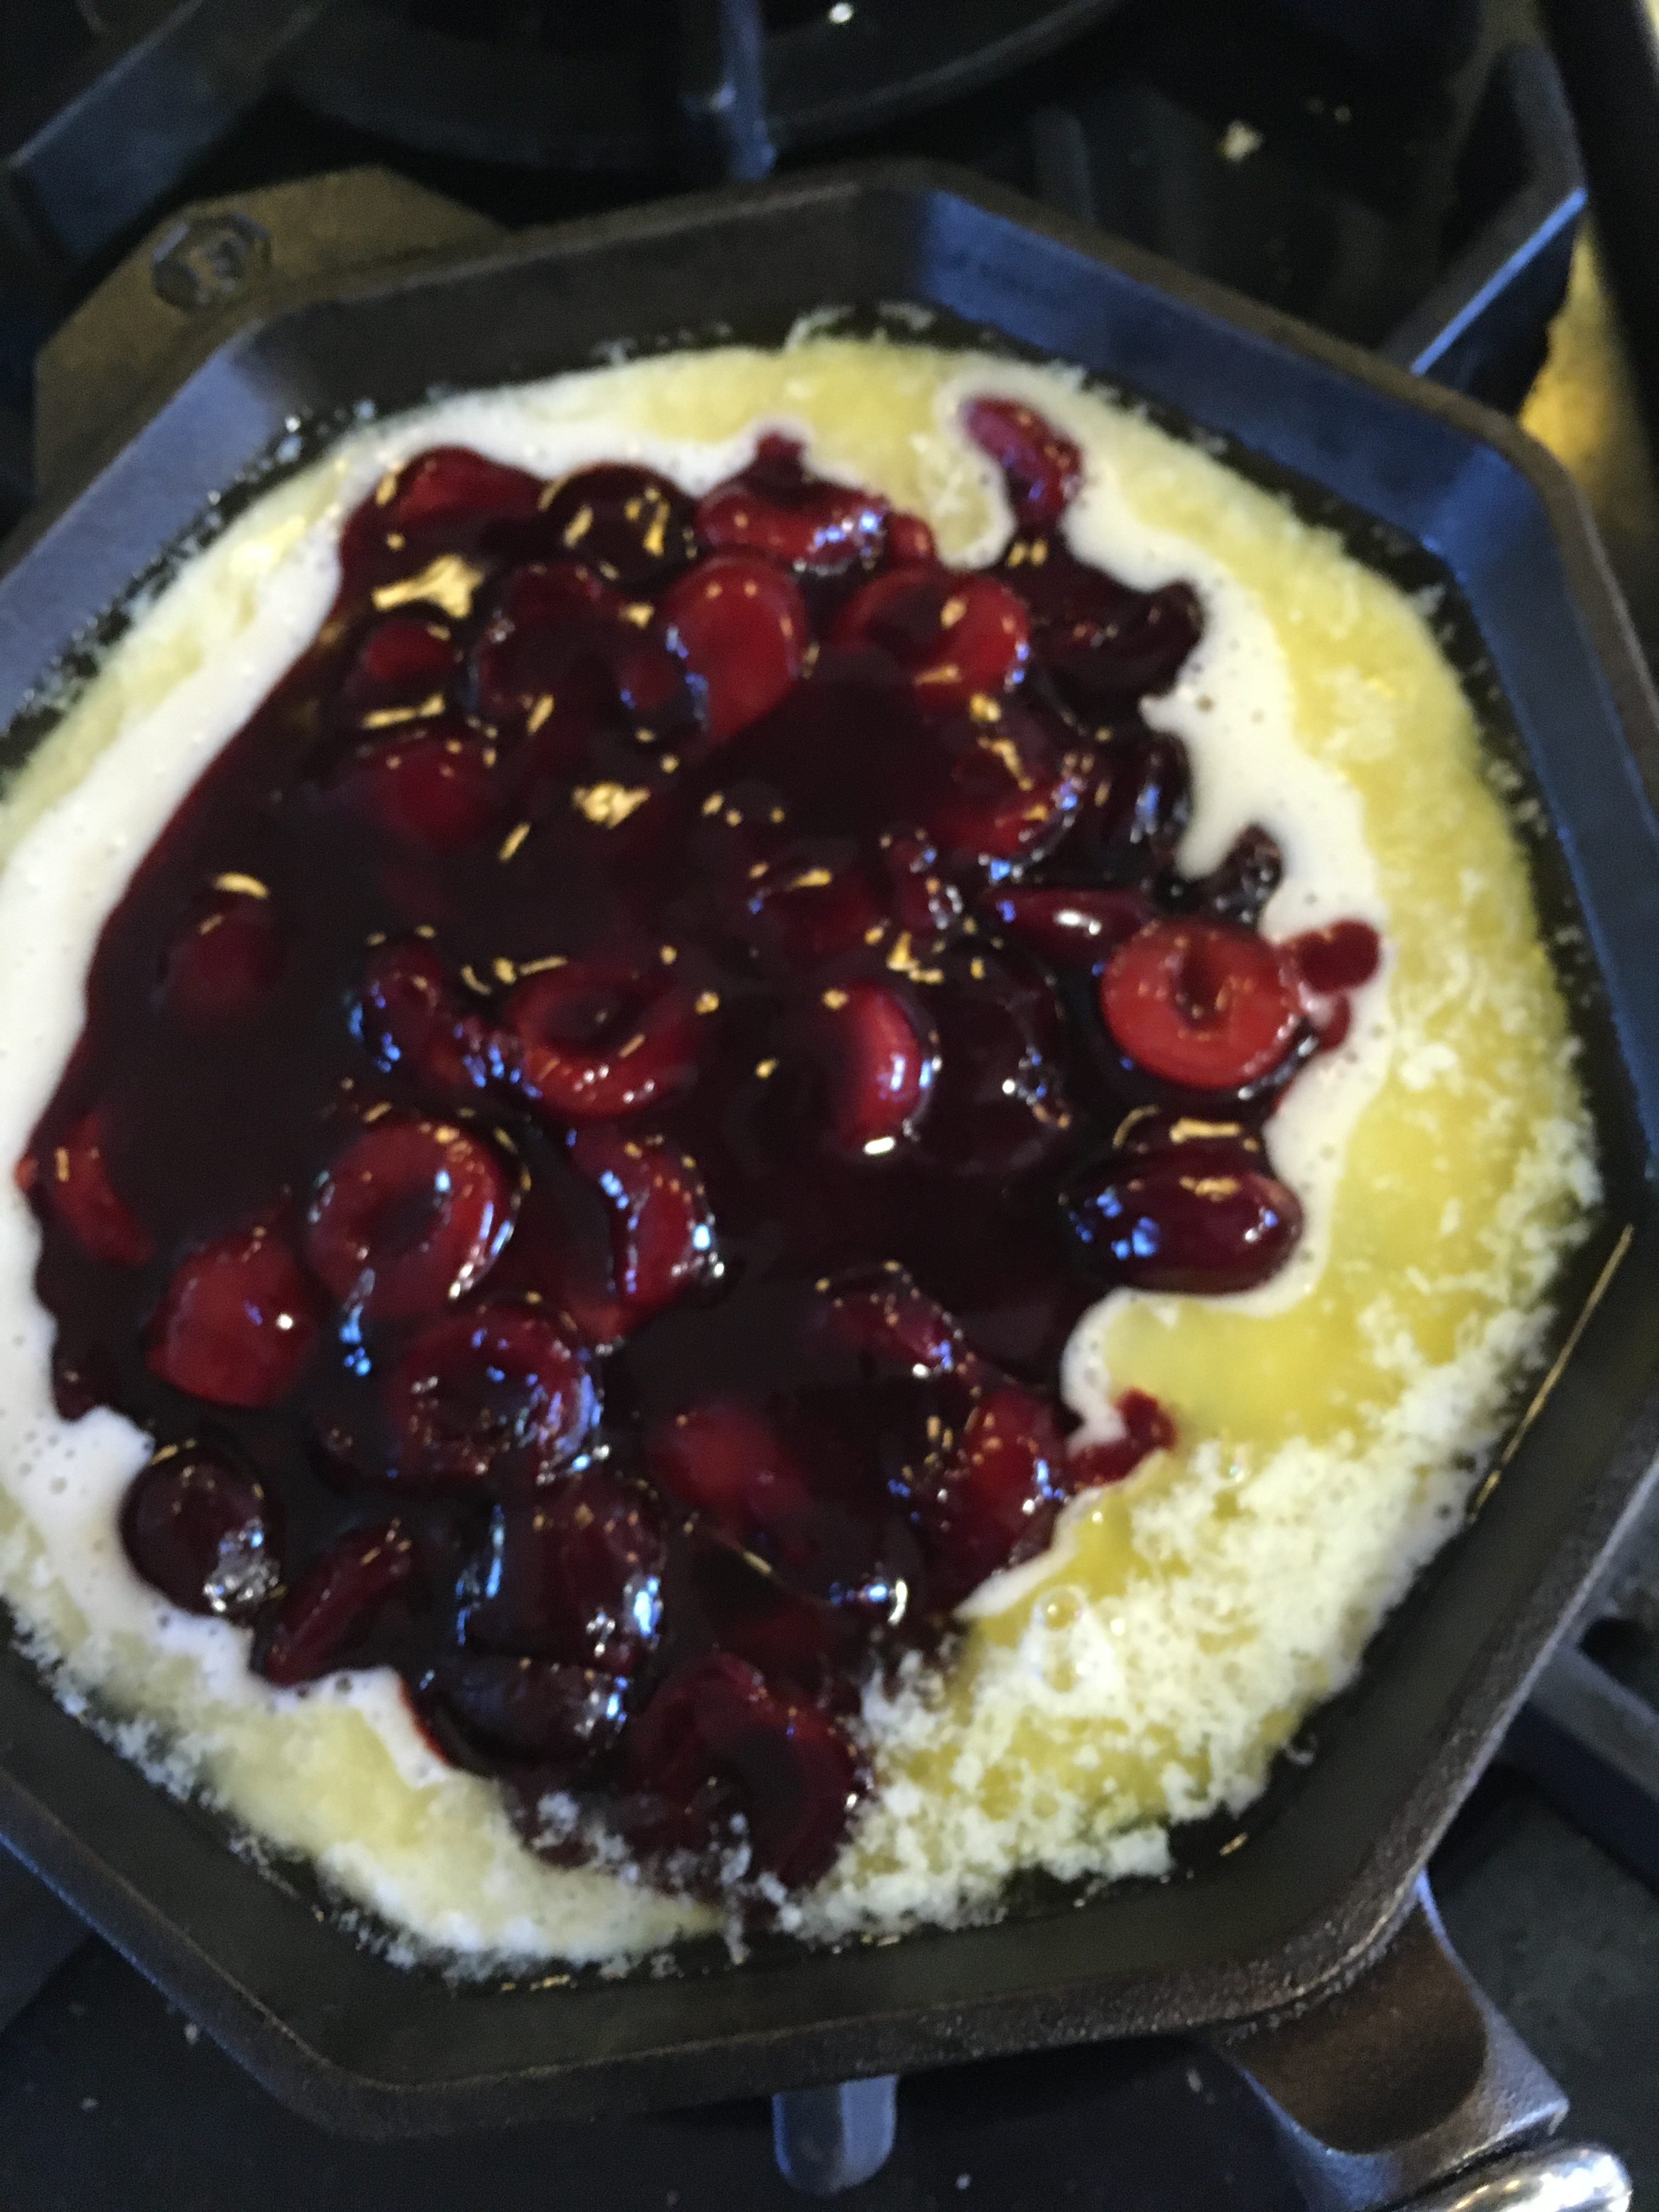
-
When the biscuit is golden brown and pulling away from the edges, it's ready. Let the cobbler set up for 20-30 minutes before enjoying warm with a big scoop of vanilla ice cream or freshly whipped cream!
I might also serve it with a lovely glass of port. Prager's Port Works in Napa makes a gorgeous ruby port called "Royal Escort" that would be wonderful with this dessert!
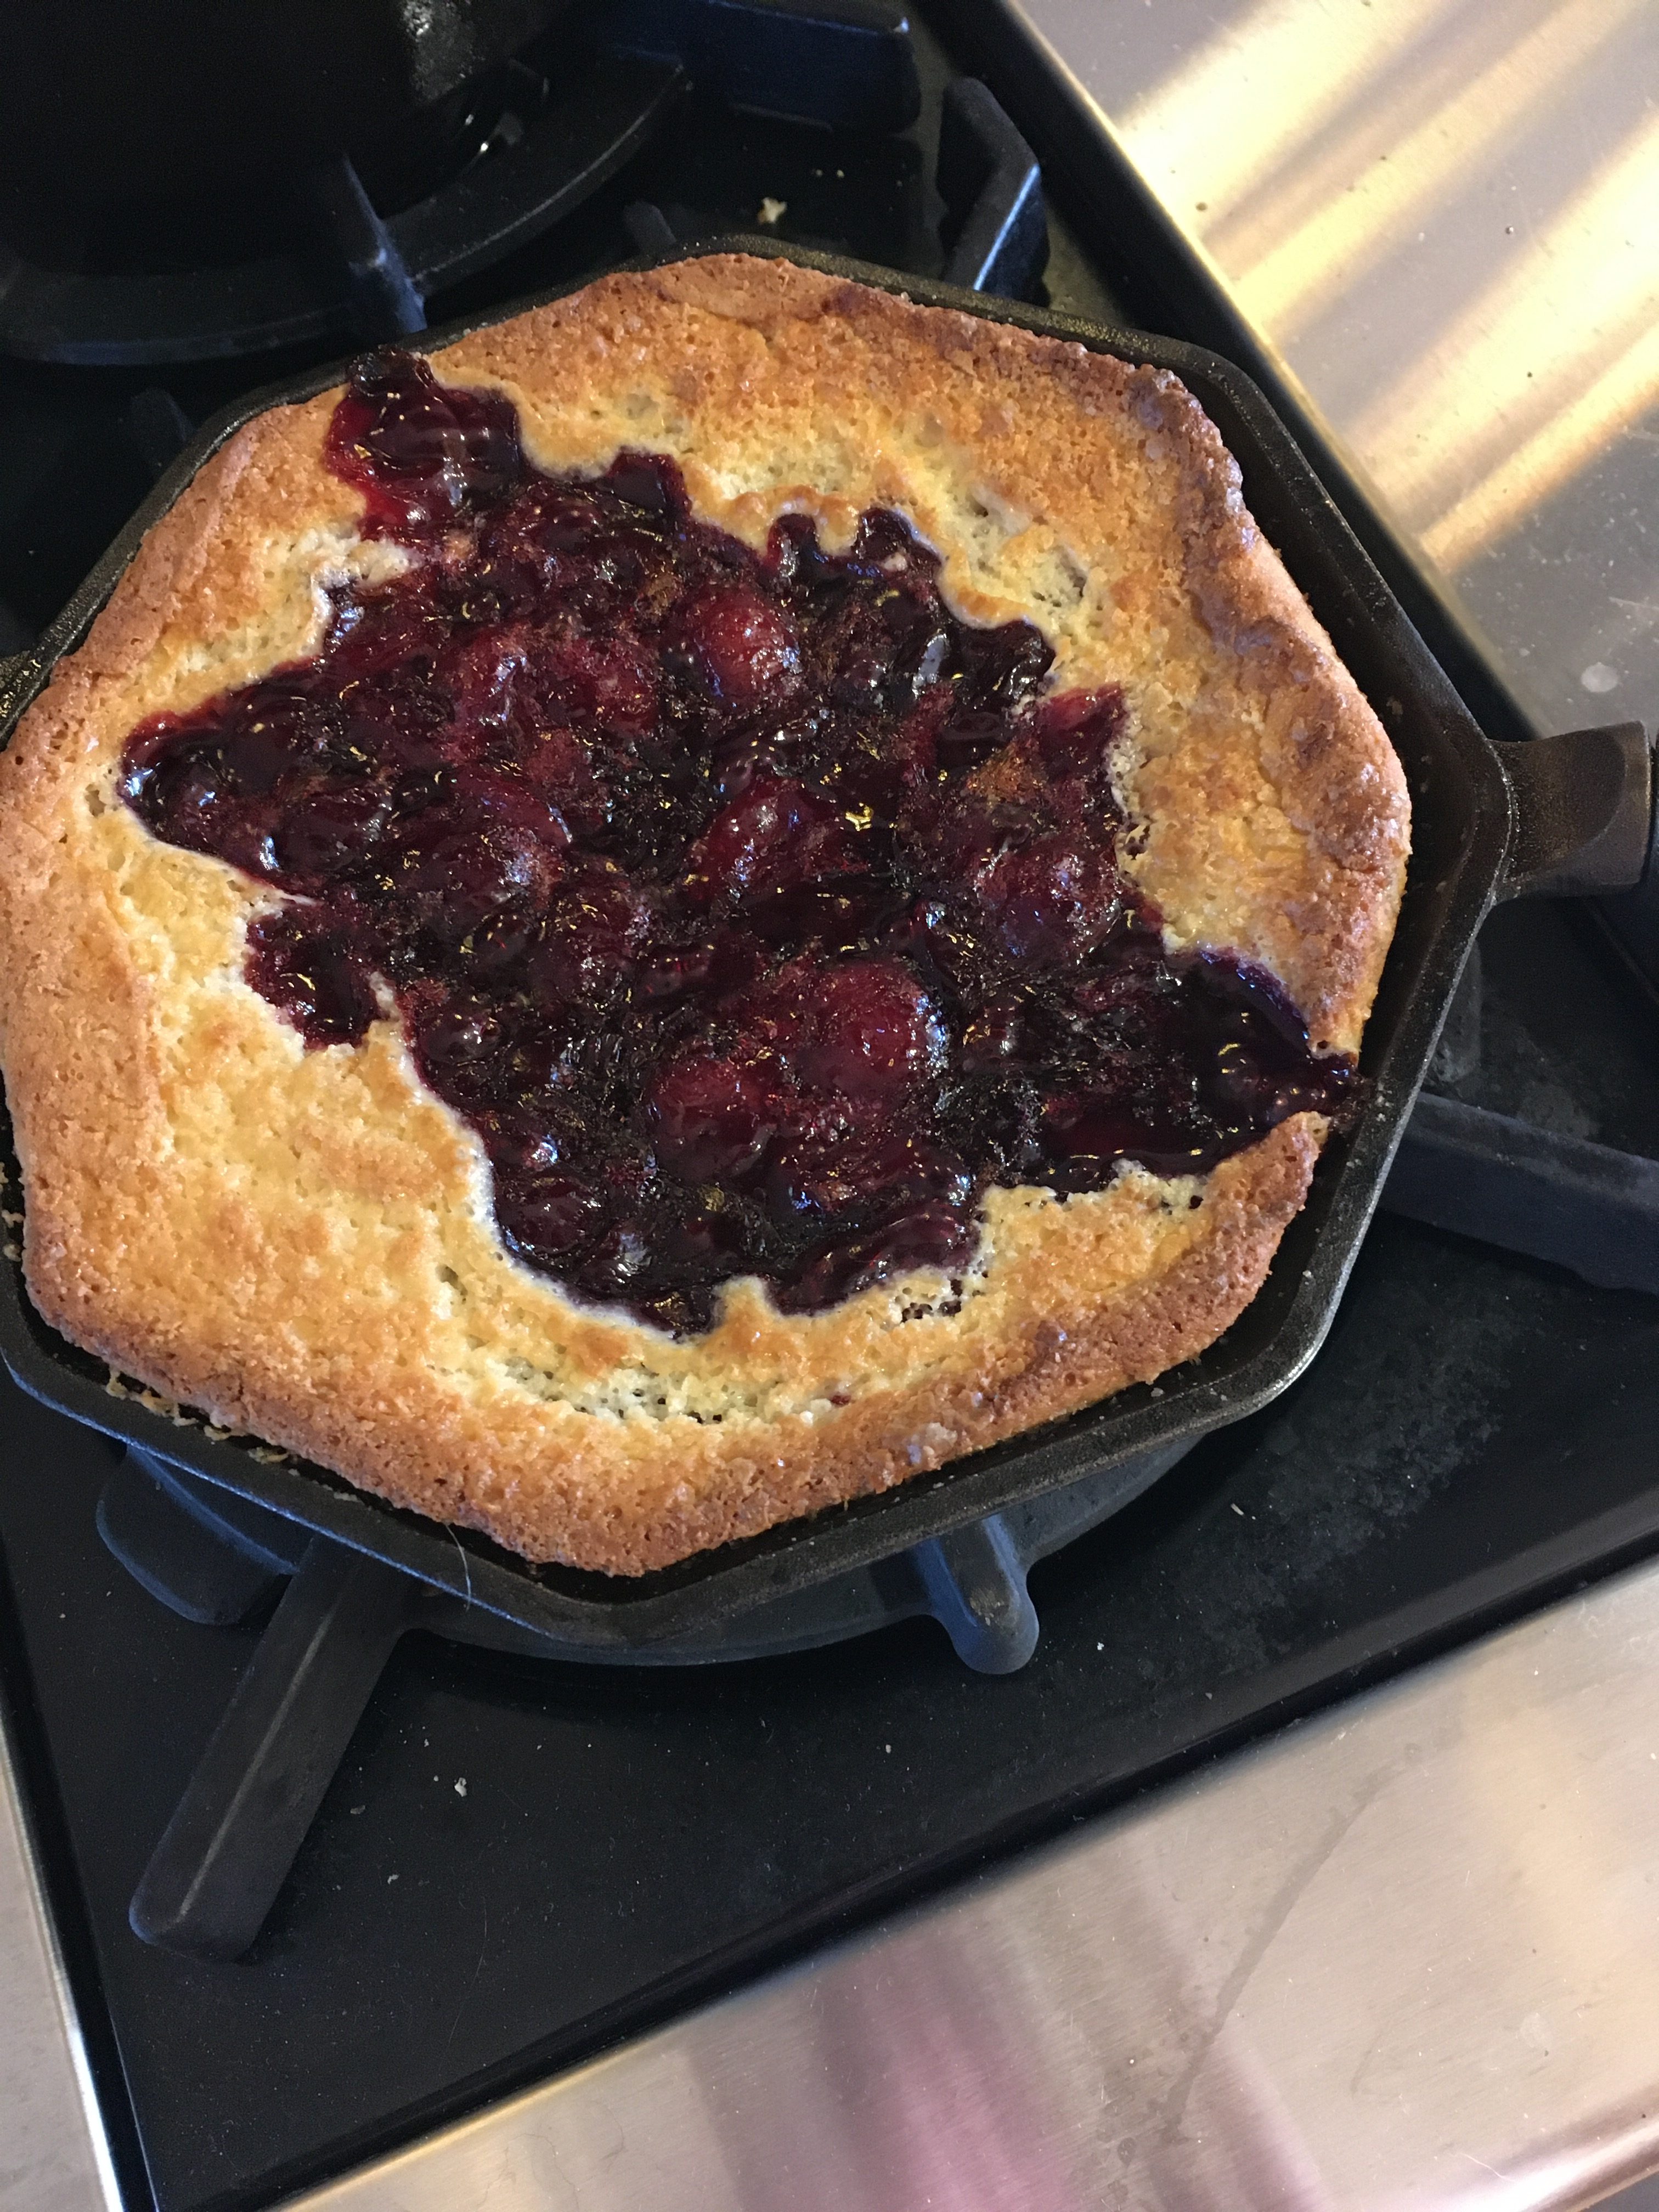

We were once served a cobbler like this at an outdoor campfire! Delicious and stays hot and bubbly. Didn’t know how to reproduce this in the kitchen. Thanks!
This is a great cobbler recipe and you can use any seasonal fruit–let me know how it works for you!